

Launch a Campaign
In the previous modules we covered Targets, Packages, Triggers, Agents, and Rules of Engagement. This module covers how to create and launch a Campaign. By the end of this module, you should be able to configure a Campaign by selecting an Environment, setting up scans, and choosing which Packages to deploy.
To create a Campaign, we start from the Configure tab in the Targets application and click + New Campaign.
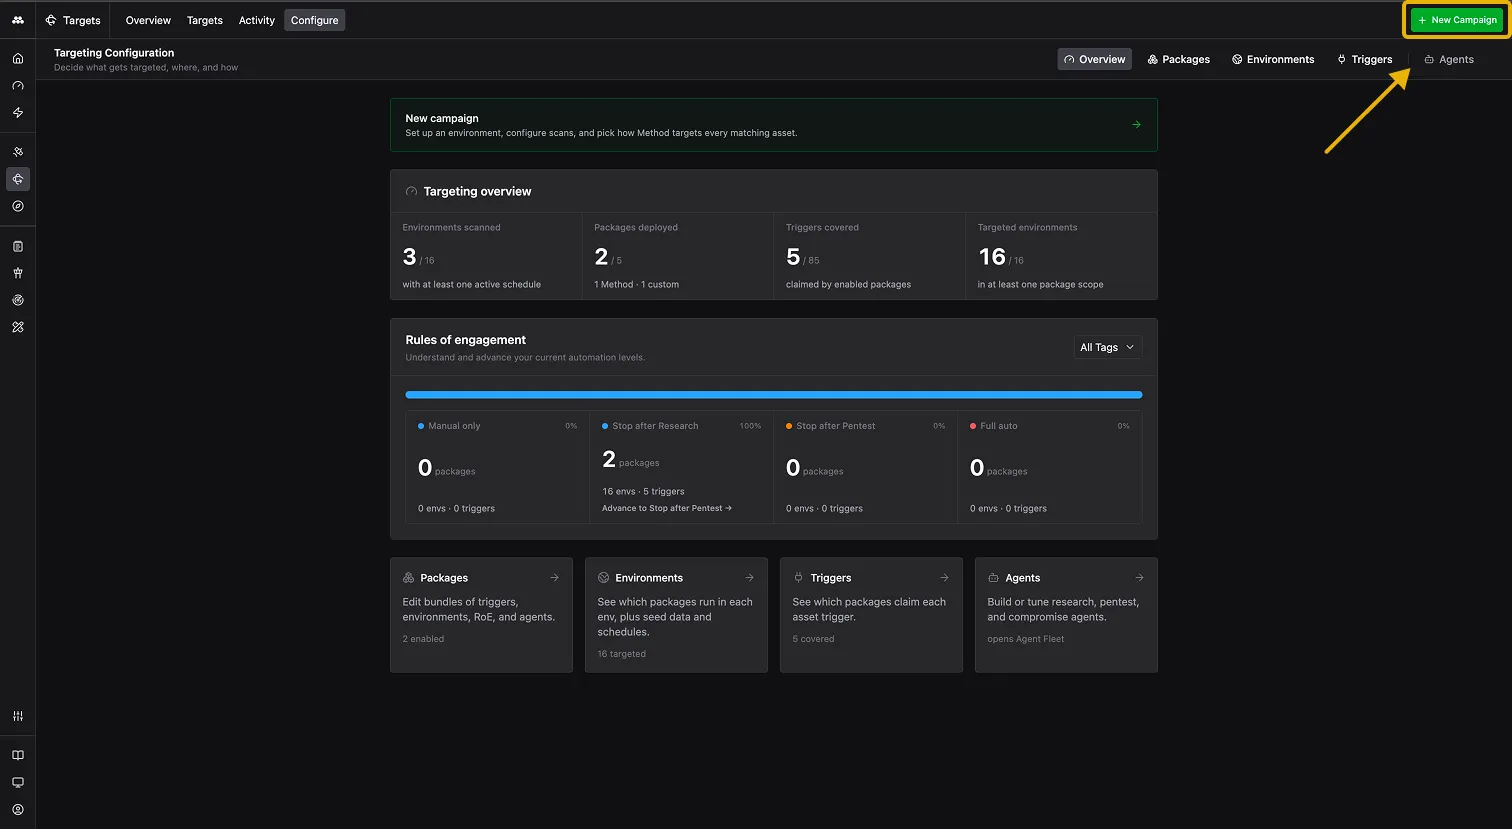
Method opens a four-step wizard.
Environment
We select the Environment for this Campaign. Every Campaign belongs to an Environment so Method knows which scans, Agents, and policies apply. We can select an existing Environment or create a new one inline.
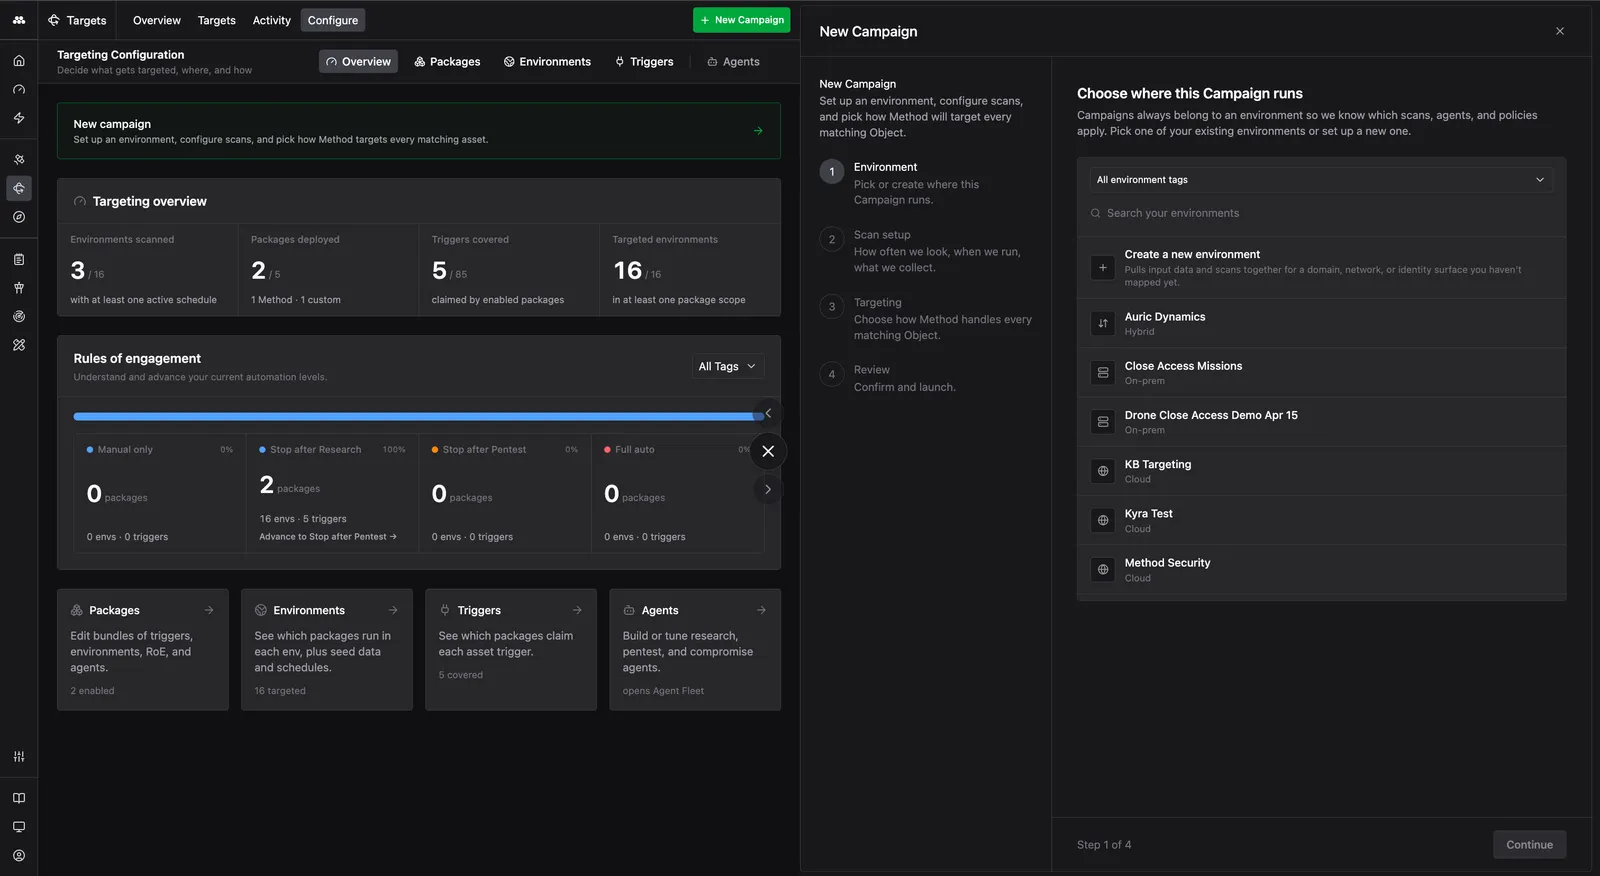
After selecting an Environment, the wizard expands to show the rest of Step 1: Seed Objects in scope, Intelligence, and the No-strike list.
Seed Objects are the starting identifiers Method scans, such as domains, CIDR ranges, or IP addresses. We can add new domains inline (e.g. wayneindustries.xyz) or select from existing seed sets. Scans are configured and managed in Automator.
Intelligence lets us upload PDFs that give Agents documentation and context about this Environment.
The No-strike list defines which Objects are off-limits to Agents. We can add individual Objects by type or define filter-based rules that match a class of Objects (e.g. salesforce.com to protect everything under that domain).
Scan setup
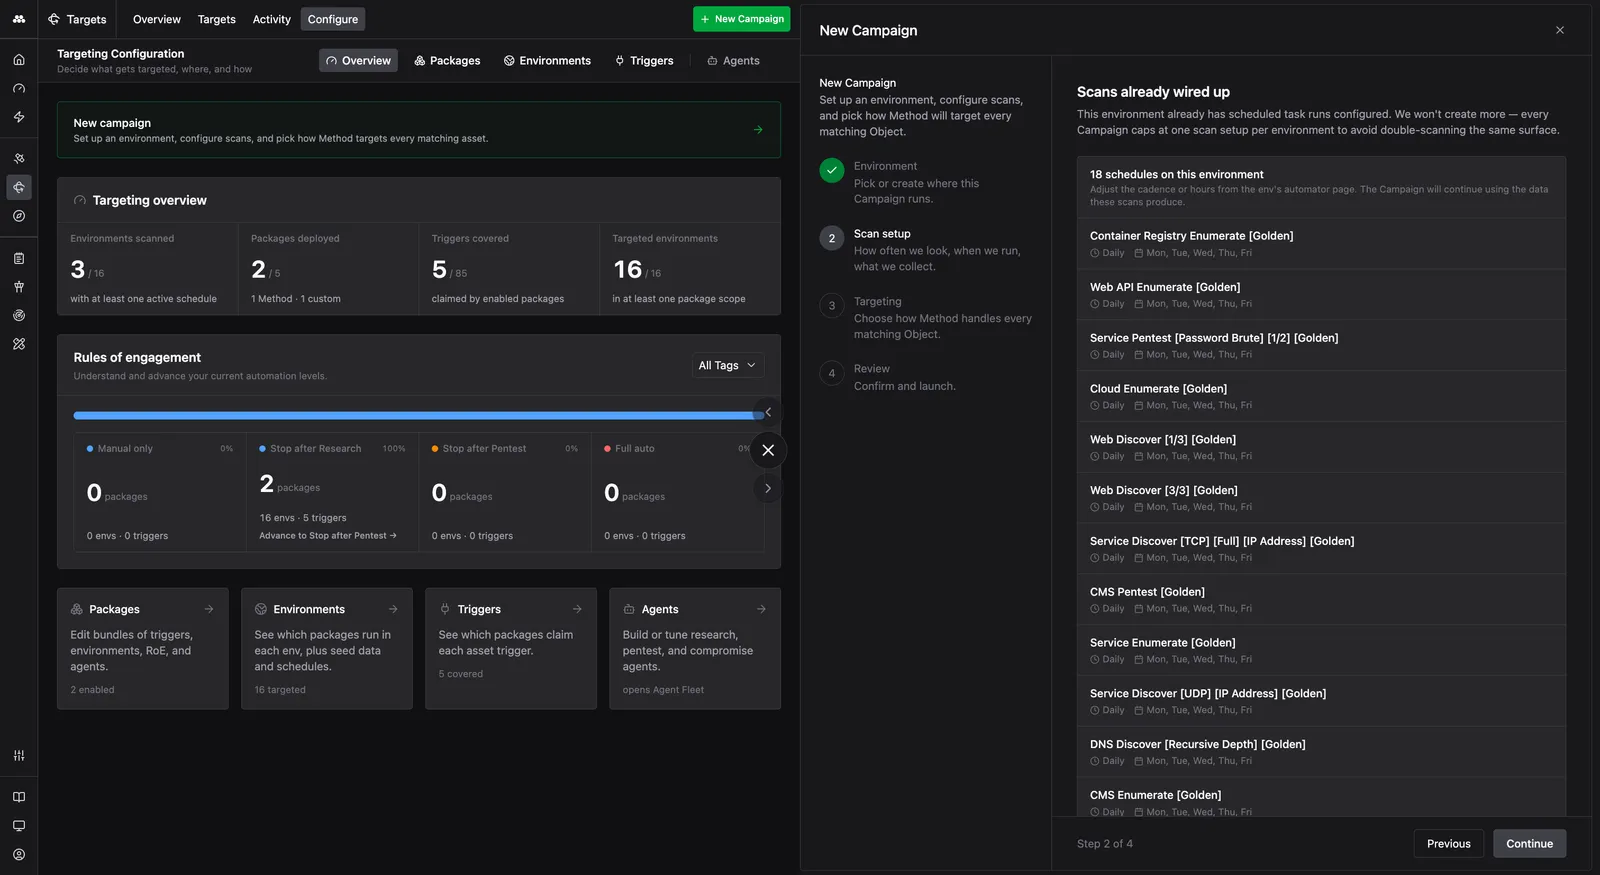
We configure how often Method scans this Environment. If the Environment already has scheduled scans configured, Method shows the existing schedules and skips creating duplicates.
Package Selection
We choose which Packages apply to the Objects this Campaign discovers. The wizard shows Method-shipped Packages (Web, Network, Cloud) and any custom Packages the team has built. We can click into a Package to inspect its Stage Policy, No-strike list, Agents, and Risk Axes before selecting it. We can also clone an existing Package from this step to use it as a starting point with a different configuration.
Summary
In this module we walked through creating and launching a Campaign by selecting an Environment, optionally adding seed data and configuring the No-strike list, reviewing scan schedules, and choosing which Packages to deploy. Once a Campaign is launched, Method begins scanning the Environment and enrolling Targets based on the Triggers in the selected Packages. The next module covers operating the funnel.
Knowledge check
Question: A Campaign is configured with one Package that has a single Trigger. What determines how many Targets it generates?
Check your answer
The number of Objects in the Environment that match that Trigger. The Campaign’s scope comes from the Environment’s seed data - domains and CIDR ranges - which Map scans and models as Objects. Every Object that matches the Trigger becomes a Target.
Question: What are the four steps to creating a Campaign?
Check your answer
Select an Environment, configure scans, choose which Packages to deploy, and review and launch.
Next module
Continue to Operating the Funnel.