Create an Agent
This guide walks you through creating a custom Agent in the Agent Fleet application.
For background on what Agents are and how Policies govern them, see AI Agents.
Open the Agent Fleet application
-
From the left sidebar, navigate to the Agent Fleet application.
-
Switch to the Agents tab.
-
Click Create in the top-right corner to open the Create New Agent form.
The form has four sections: Agent Information, Model Configuration, Targets, and Tools & Subagents.
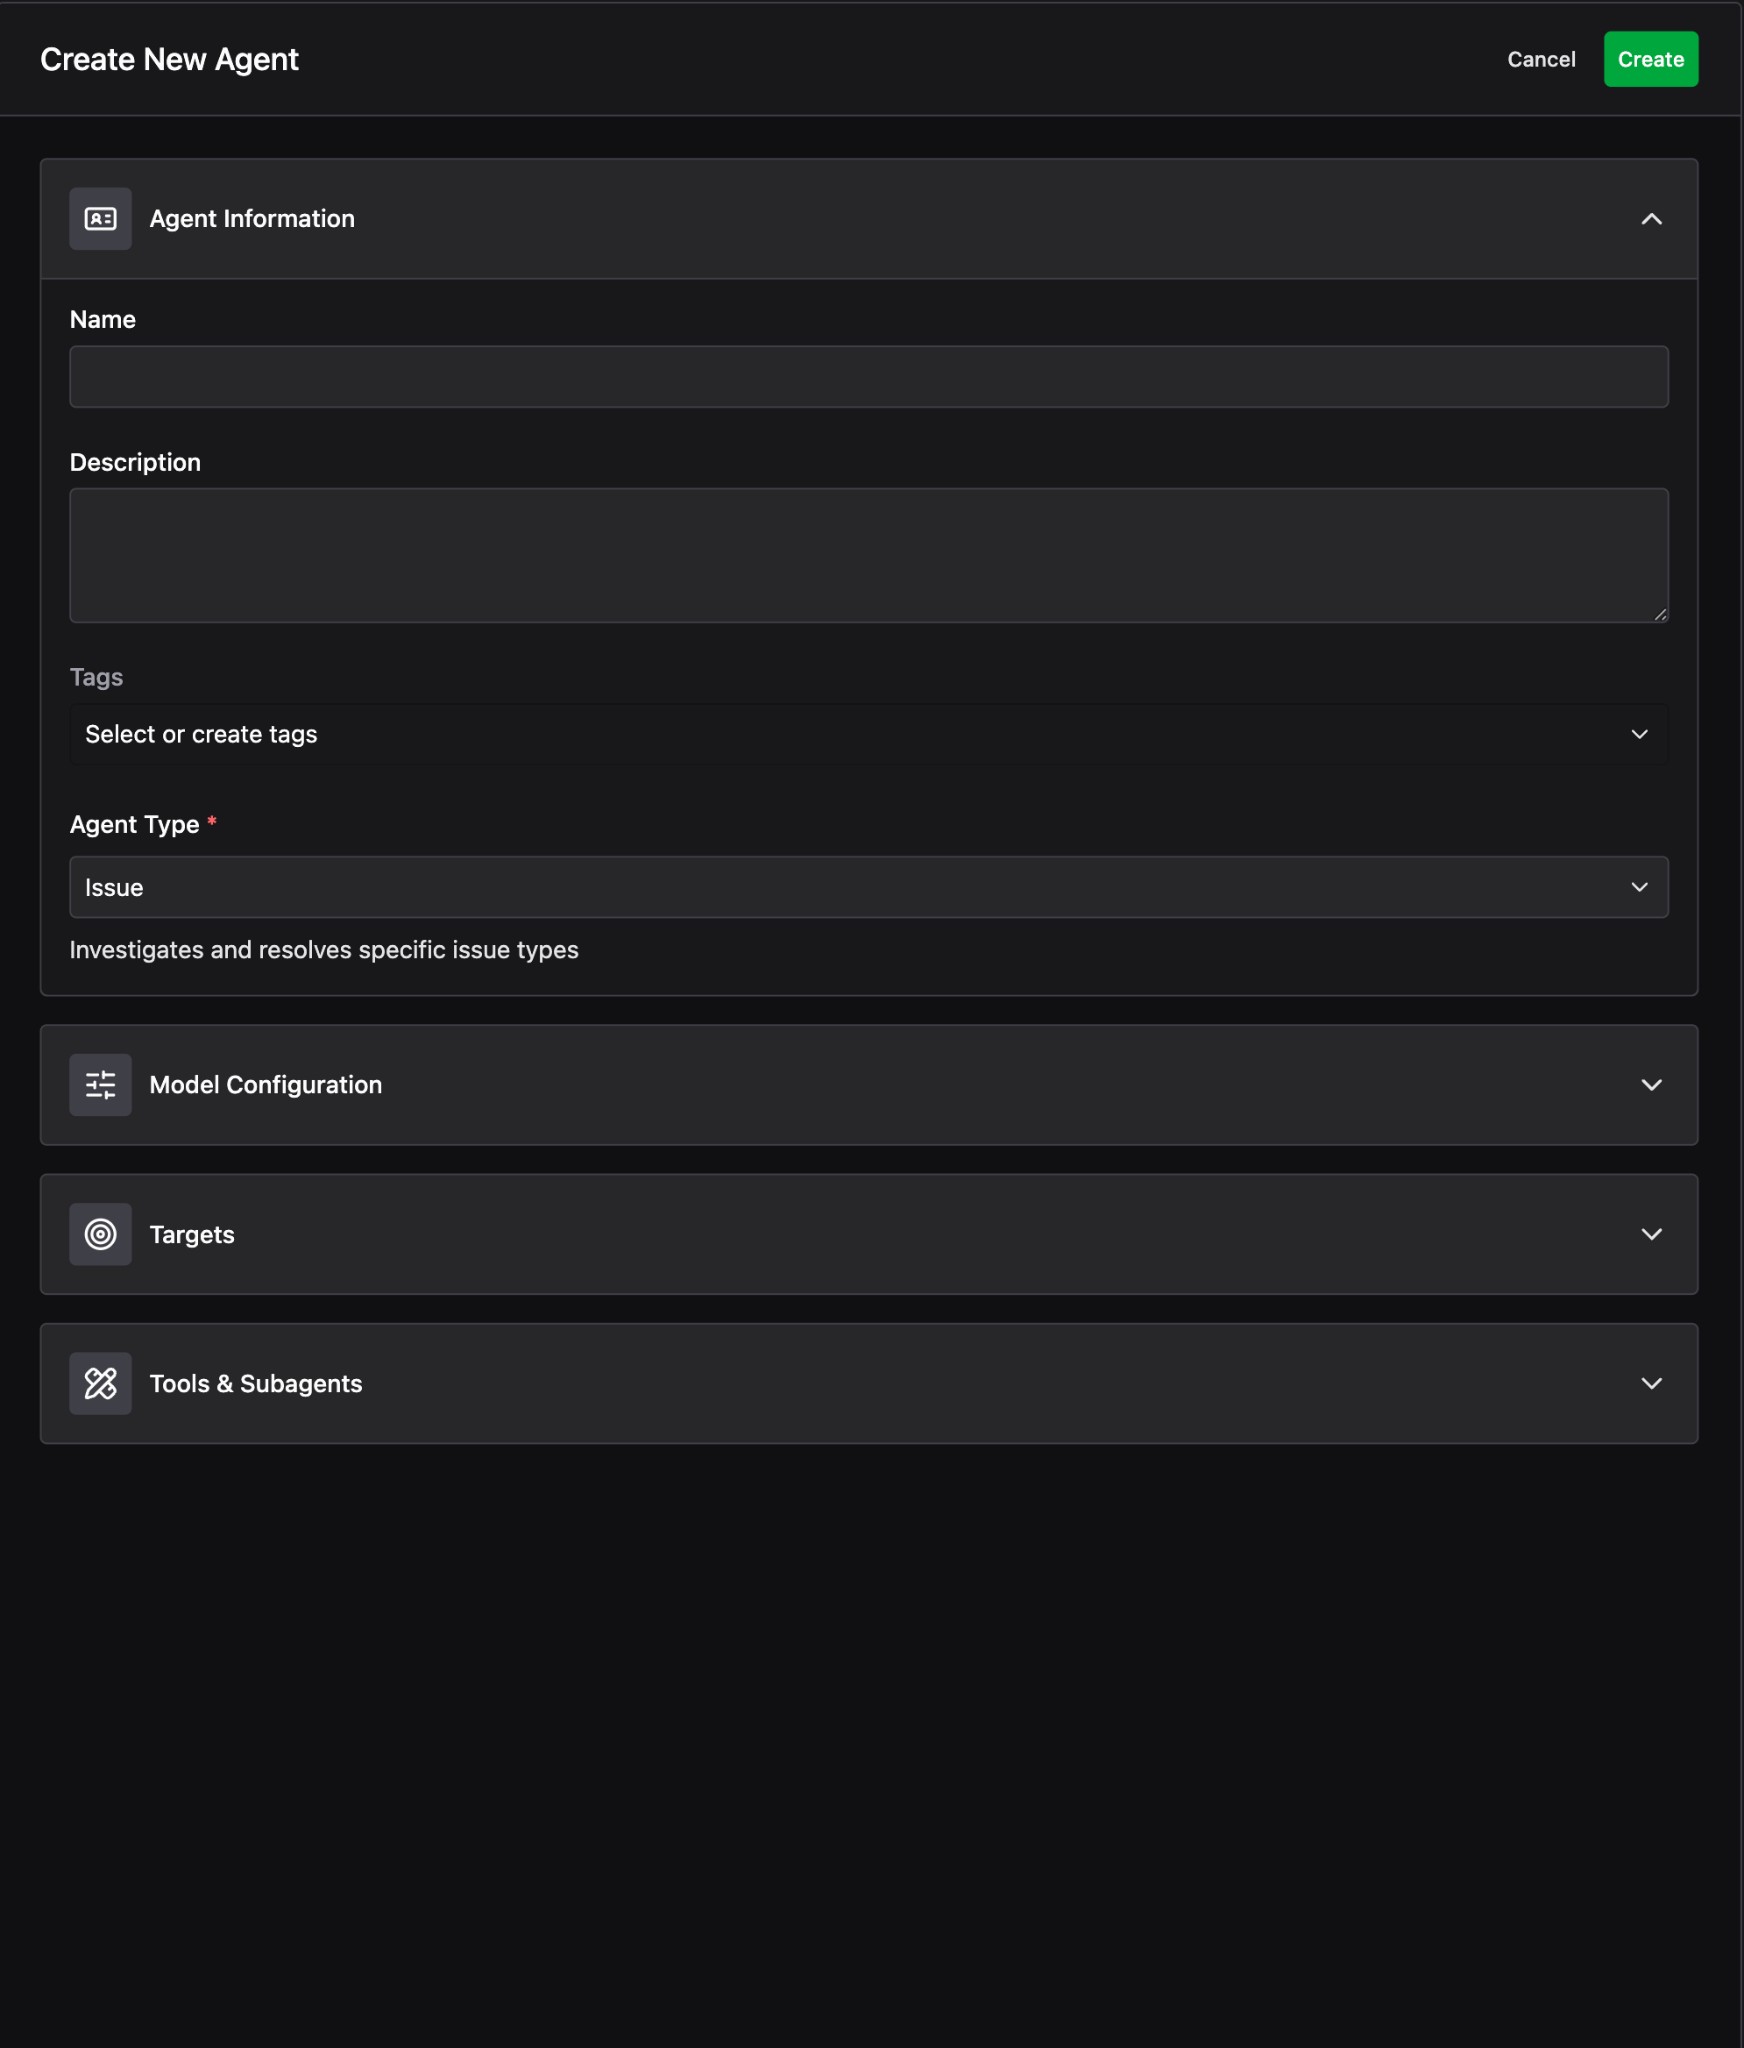
Agent Information
Start by filling in the Agent’s identity and type.
- Name: A short, descriptive name so the Agent is easy to recognize across the platform.
- Description: A longer explanation of what this Agent does and when it should be used.
- Tags: Optional labels to help organize and filter Agents later.
- Agent Type: The kind of work this Agent performs. For example, selecting Issue means the Agent investigates and resolves specific issue types.
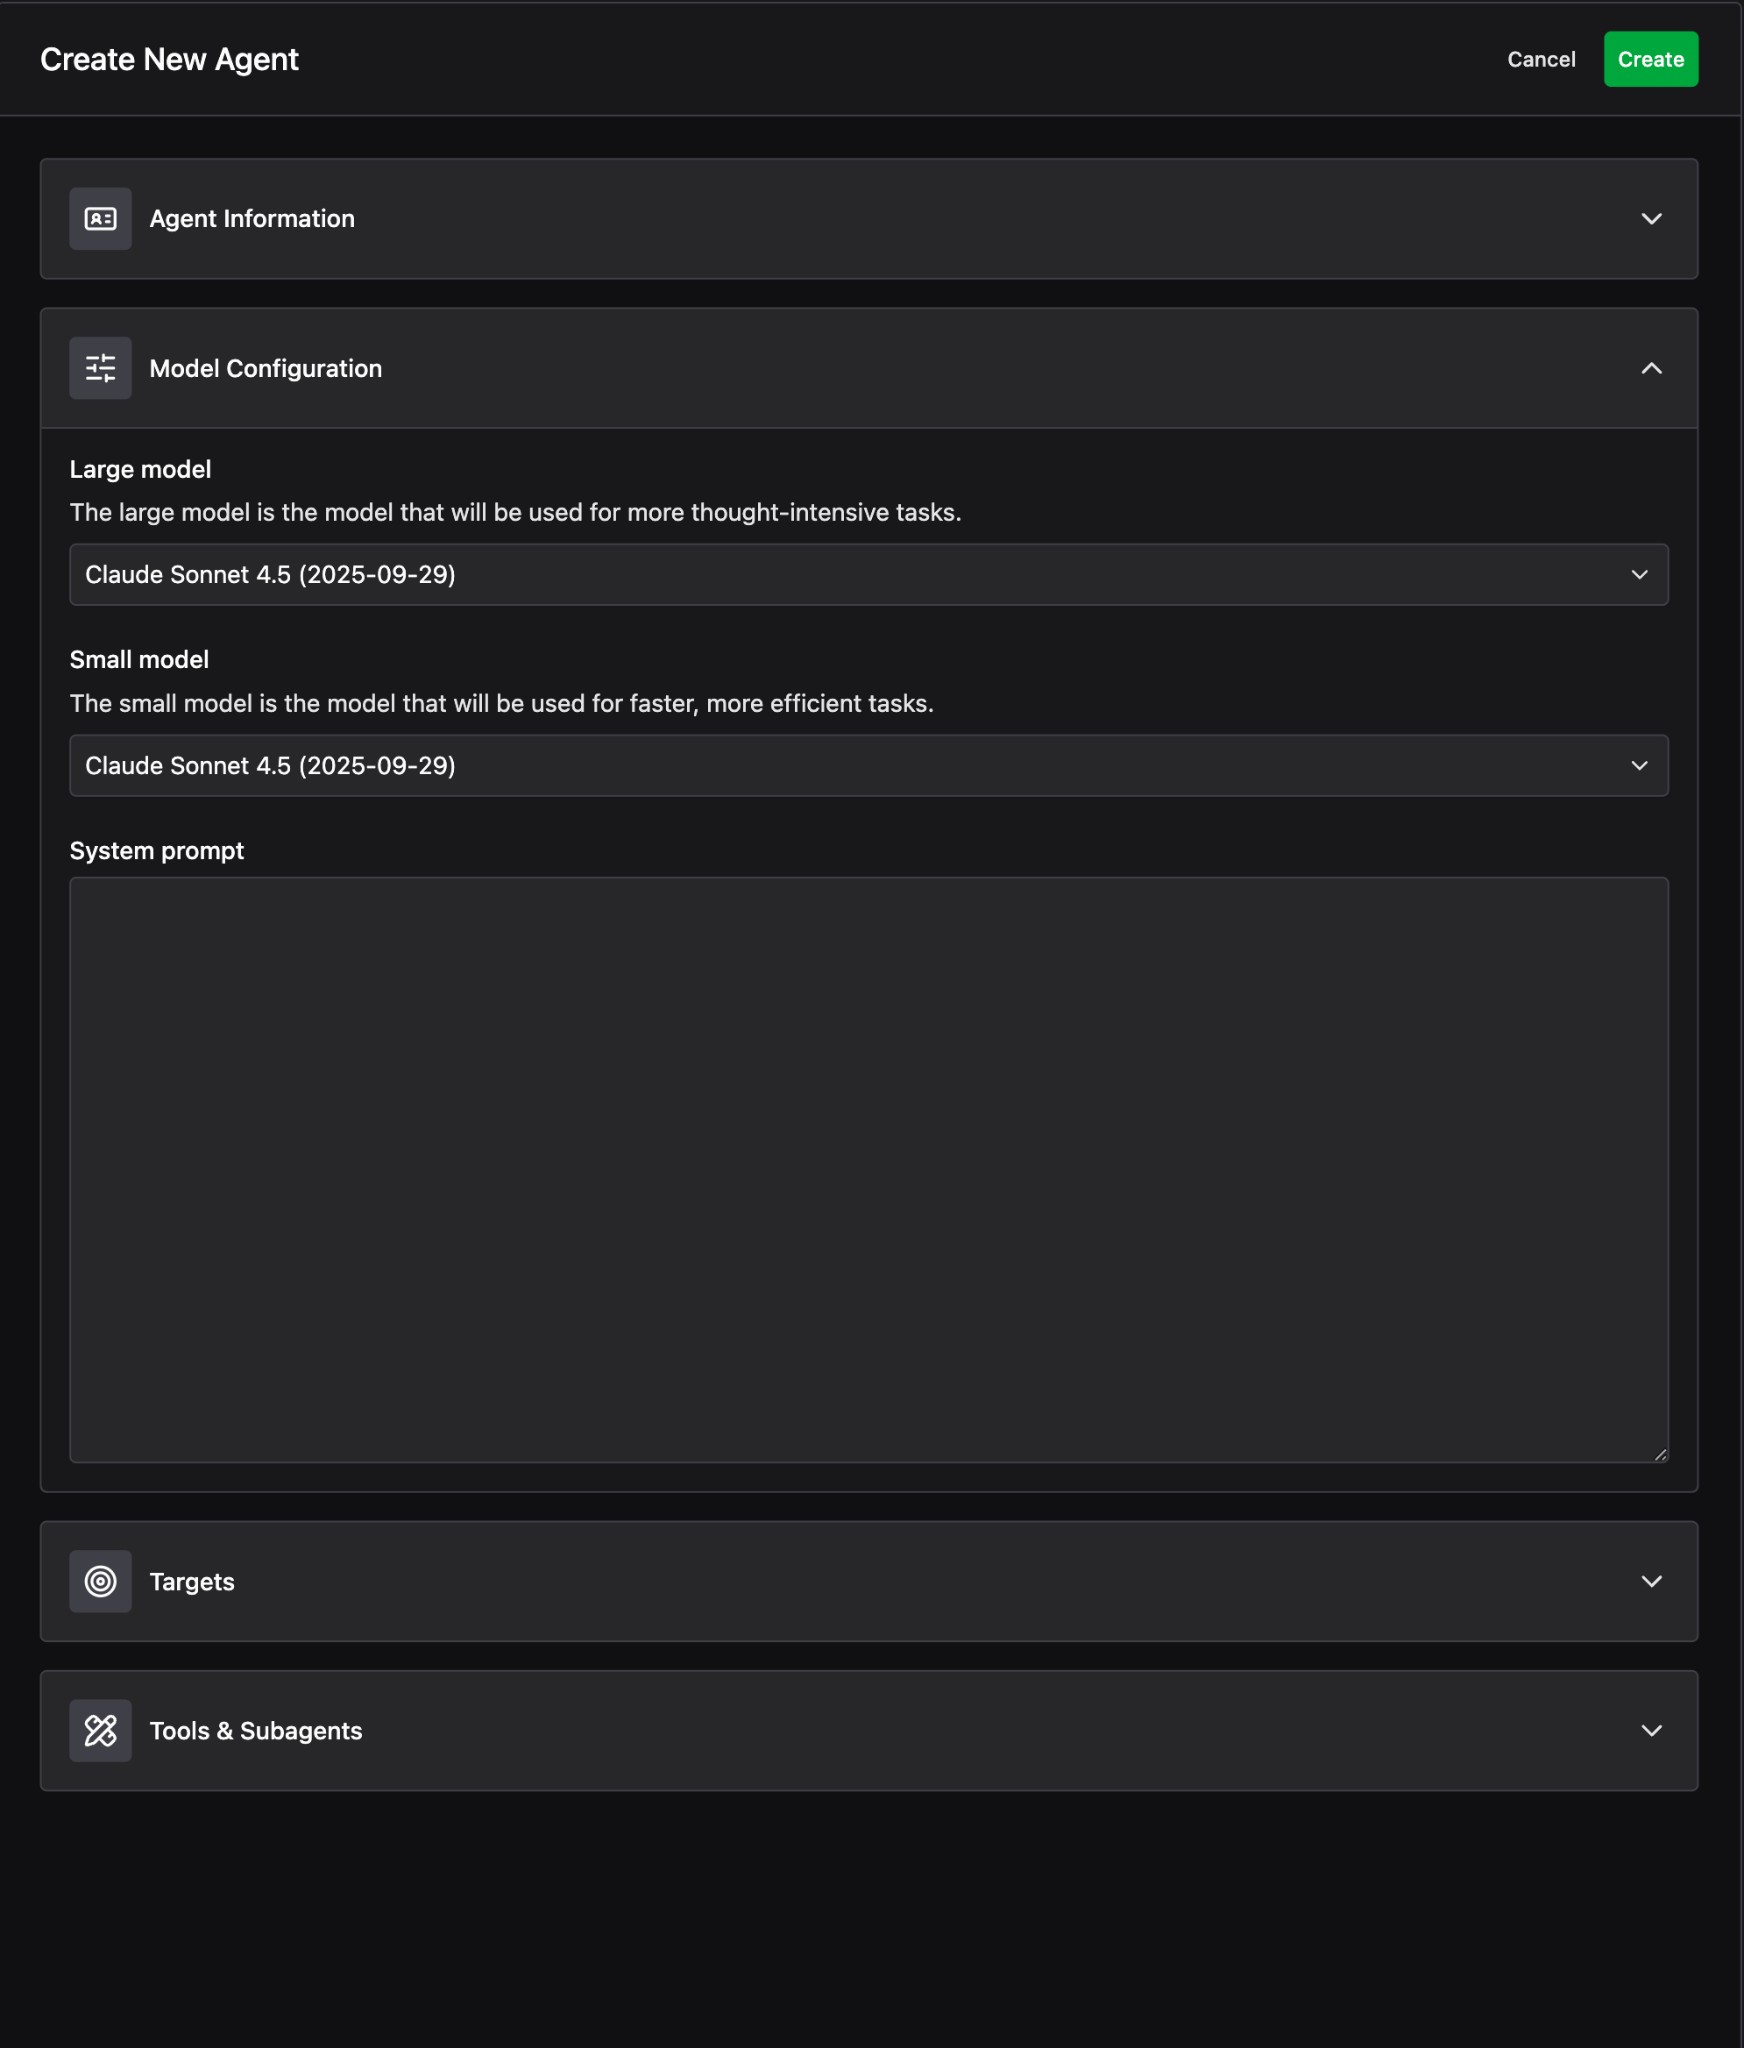
Model Configuration
Expand the Model Configuration section to choose the models and system prompt for your Agent.
- Large model: The model used for more thought-intensive tasks. Choose a model that balances capability with your performance requirements. Currently, we only use large models for Method Agents and selective use of small models (below) is coming soon.
- Small model: The model used for faster, more efficient tasks. This is typically used for lightweight reasoning or triage steps. As stated above, these models are not yet used on any tools, but will be in the near future.
- System prompt: Instructions that define the Agent’s behavior, tone, and decision-making approach. Write the prompt so that it aligns with the targets and tools you select in the following sections.
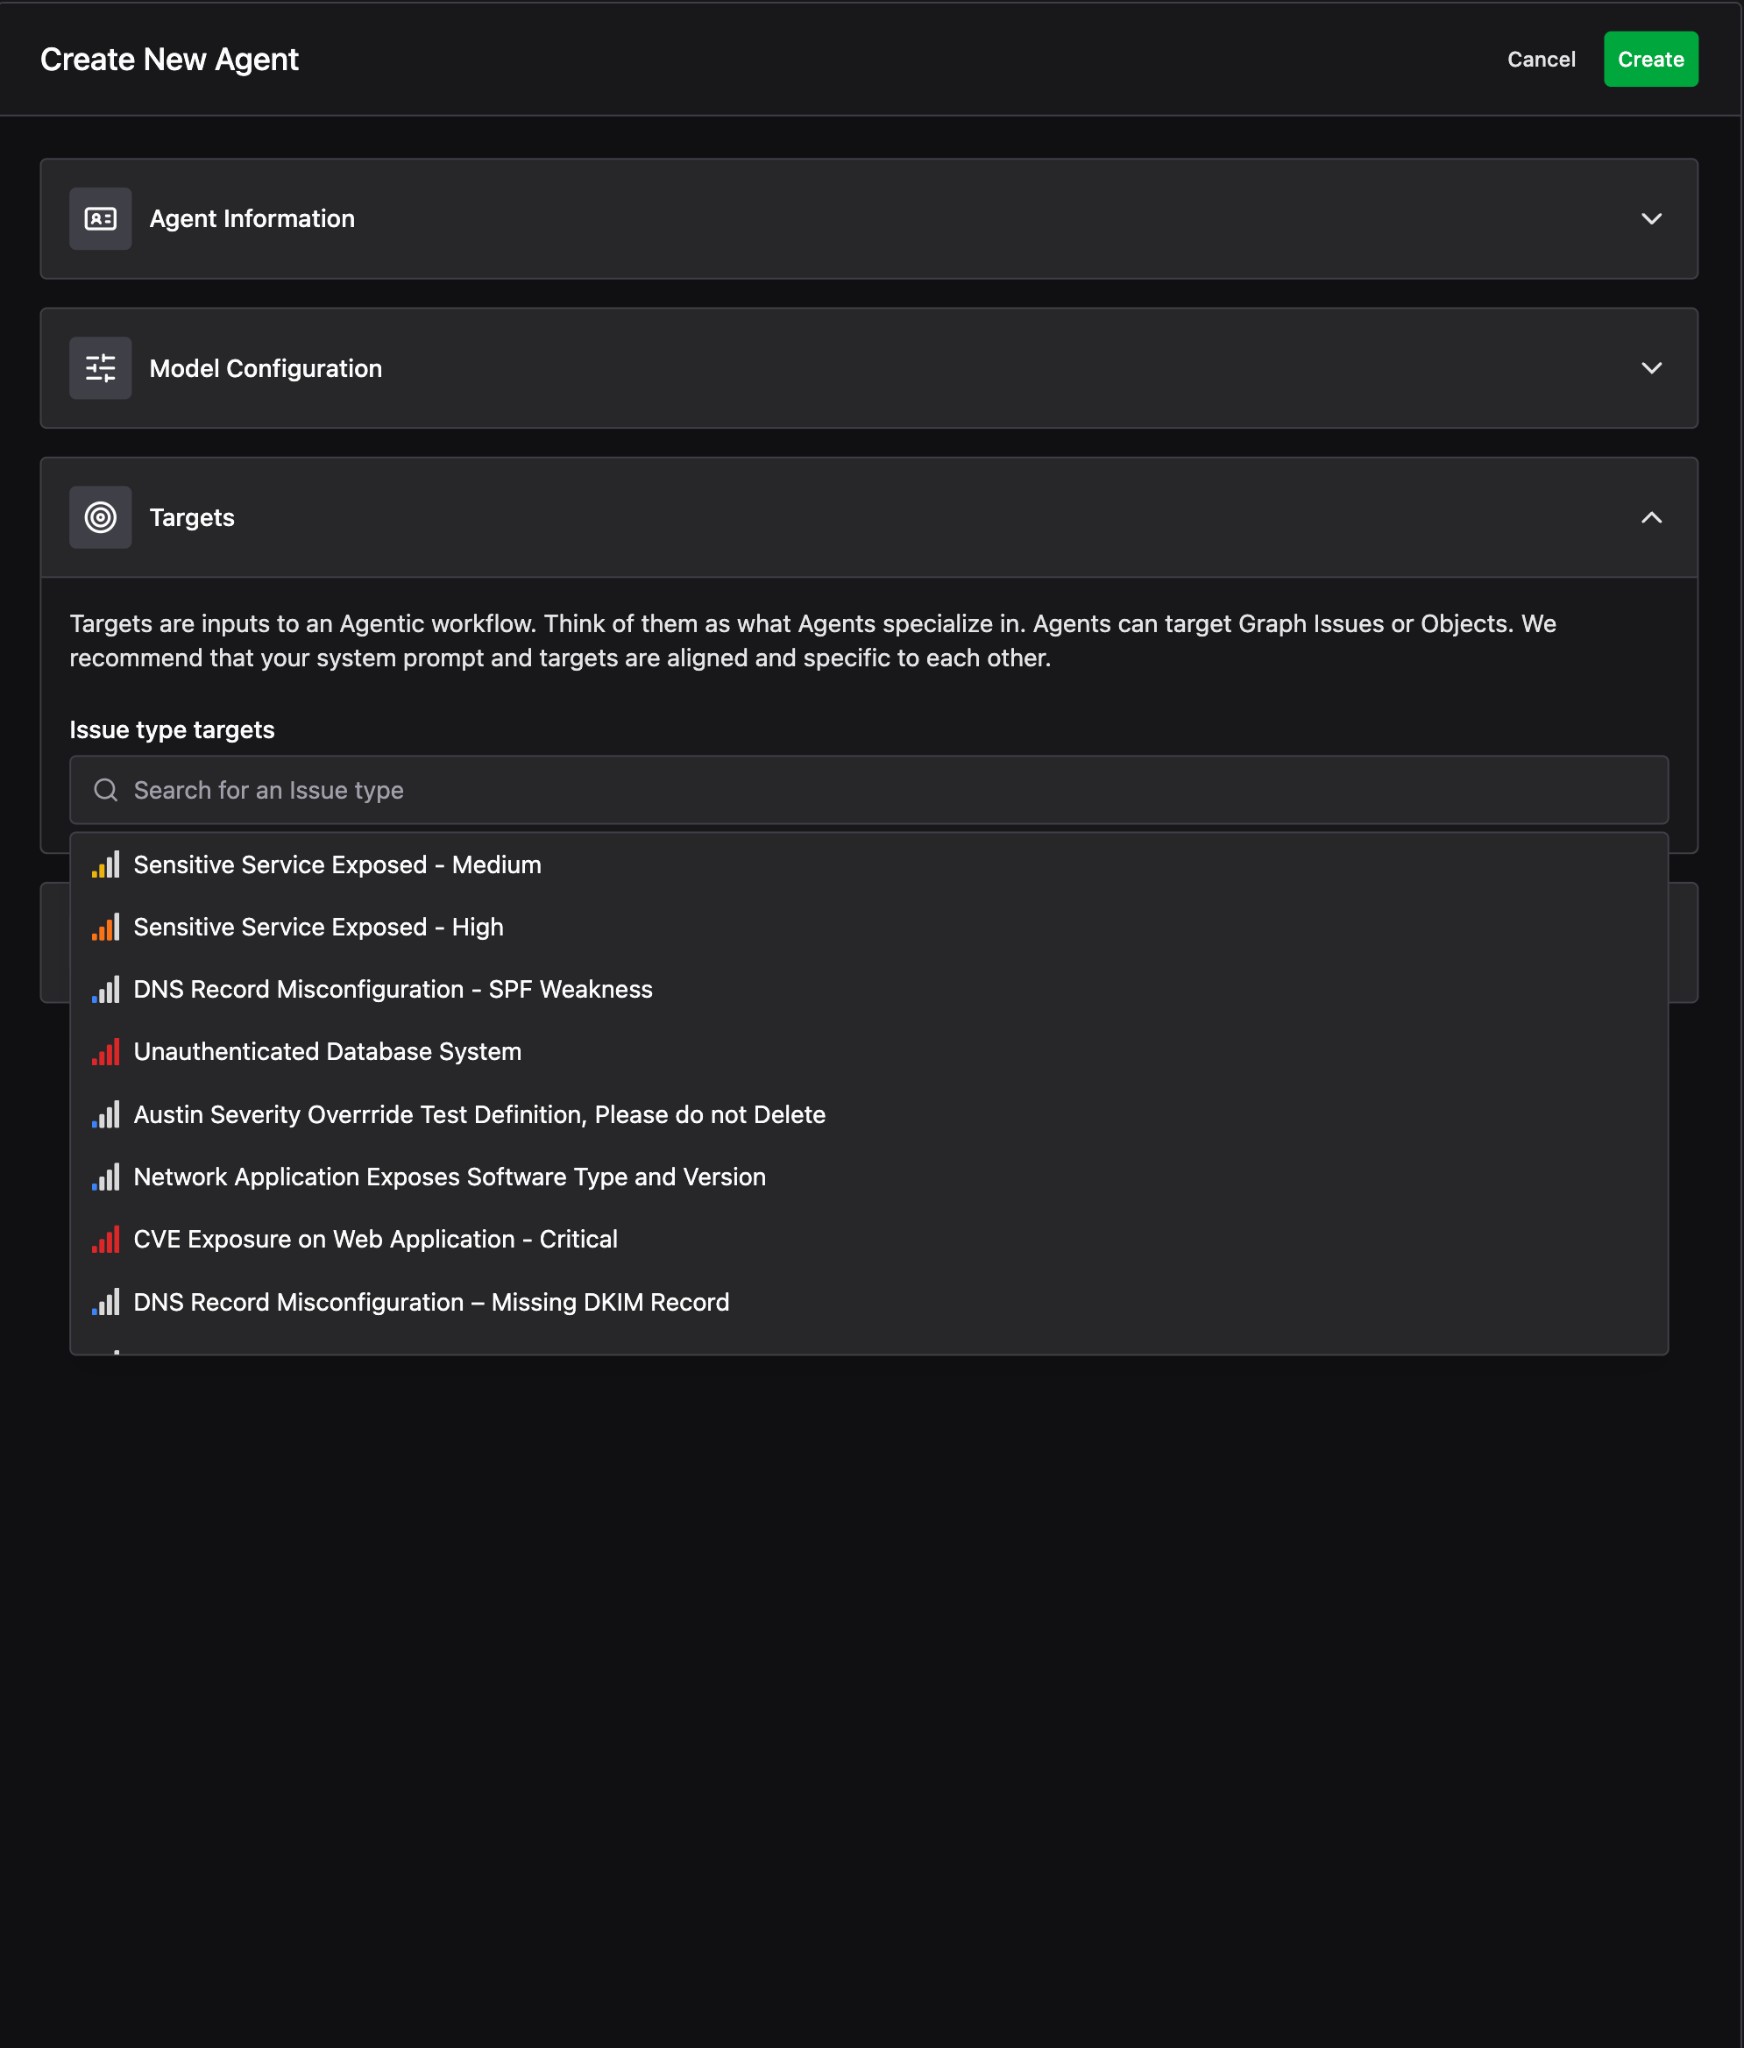
Targets
Expand the Targets section to define what the Agent specializes in. Targets are the inputs to an agentic workflow – think of them as the types of work the Agent is designed to handle.
Agents can target Graph Issues or Objects. We recommend that your system prompt and targets are aligned and specific to each other so the Agent produces consistent, high-quality results.
- Issue type targets – Search for and select one or more Issue types. The Agent will be scoped to work on these types of Issues.
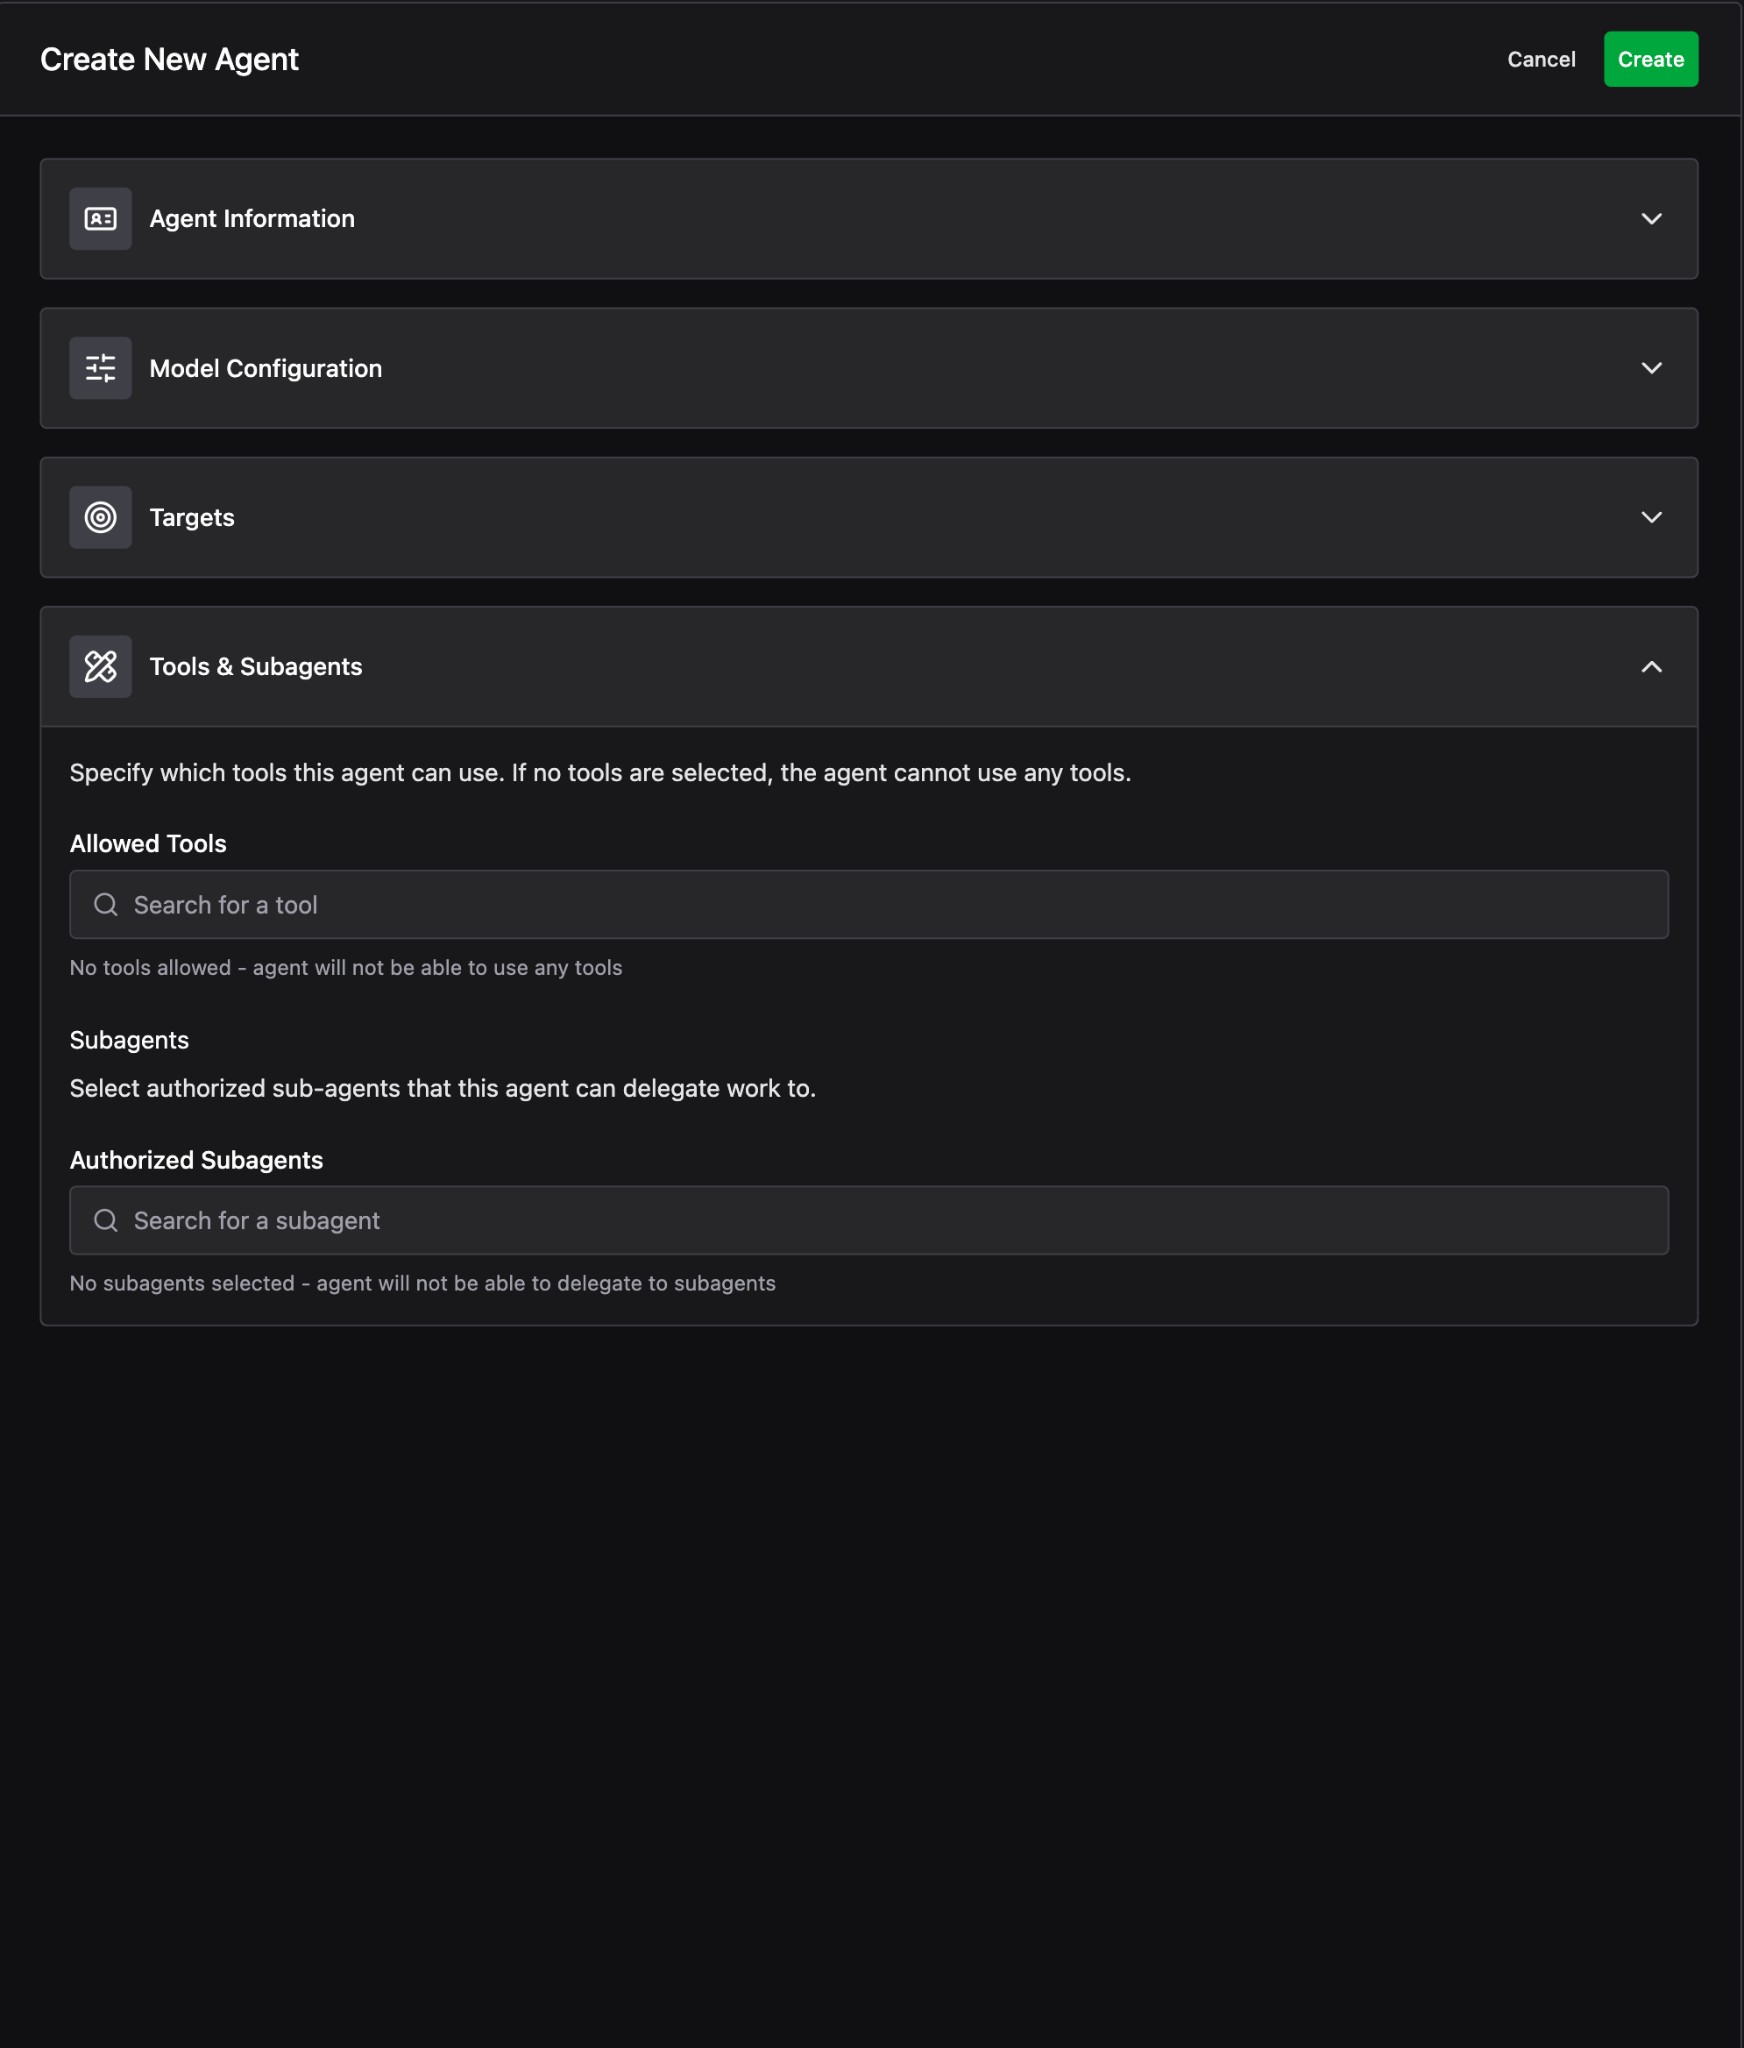
Tools & Subagents
Expand the Tools & Subagents section to specify which capabilities the Agent has access to.
- Allowed Tools: Search for and select the MCP Tools this Agent can use. If no tools are selected, the Agent will not be able to use any tools. Choose tools that align with the Agent’s purpose and system prompt.
- Authorized Subagents: Optionally select other Agents that this Agent can delegate work to. This is useful for multi-step workflows where one Agent orchestrates others.
Create the Agent
Once all sections are configured, click Create in the top-right corner. Your new Agent will appear in the Agent Fleet list.
Use your Agent
To use your Agent, navigate to the Issues app and find an Issue that your Agent can target. In the top right corner click send to Agent to start an investigation.
You can examine your Agent’s performance across sessions by returning to the Agent page and looking at the linked sessions tab.
Next steps
After creating your Agent, define Policies to control where and under what conditions the Agent can operate. Policies let you approve, deny, or require approval for the Agent’s actions across Environments, MCP Tools, and Agent sessions.