

Use Entra ID for SSO
Use this guide to create an app in Entra ID and integrate it into the Method Platform’s authentication service for SSO.
Setup Azure Entra ID
Navigate to Microsoft Entra ID
In the Microsoft Azure portal, click into Microsoft Entra ID.

When you click on the menu, you’ll be to redirect to the tenant overview. If you don’t have any tenants, please see the Quickstart to create a new tenant.
Register a new Enterprise Application
On this page click Add and then Enterprise application.

On the Browse Microsoft Entra App Gallery page, select Create your own application, and then Method Platform as the Name.

You should now see your Enterprise application within Entra. The next step is to set up an OIDC provider. To do so,
click on App registrations in the left-hand sidebar. You will see an app that shares the same name as the Enterprise
application you just created. Once you click in, set up a redirect URI:

We will now configure our redirect URI:
Redirect URI
When prompted for your Redirect URI, enter https://keycloak.<method-instance>.method.delivery/realms/method/broker/entra/endpoint.
Make sure to fill in the name of your Method instance in the URI above.
Create Client secrets
On the app overview page, select Add a certificate or secret or on the left sidebar select Certificates & secrets.

Next, select New client secret.

Fill out a description of Method Platform Client Secret and keep recommended 180 days.

Copy the Value immediately because you will not be able to see this value again.

Share Information with your Method Mission Ops team
There will be three pieces of information you need to share with your Method Mission Ops team:
- The Client Secret copied in the previous step
- An endpoint URI with OpenID information
- Application (Client ID)
Get OpenID Endpoint URI
On the App main page, click Endpoints.

On the drawer that opens up, copy the value for OpenID Connect metadata document.

Get the Application (Client ID)
On the App main page, copy the value for Application (Client ID).

Send three pieces of information to Method Mission Ops team
Ensure that this information is sent securely.
Test login
Once you are notified by your Method Mission Ops team, you should see a new Entra option when logging into Method Platform.
Set up SCIM provisioning
SCIM provisioning is an optional step which allows you to sync users and group membership from Entra to Method. This allows you to manage users’ permissions within the platform from your IdP, since the IdP controls group membership, and group membership determines permissions in Method.
Get the integration token from Method Platform
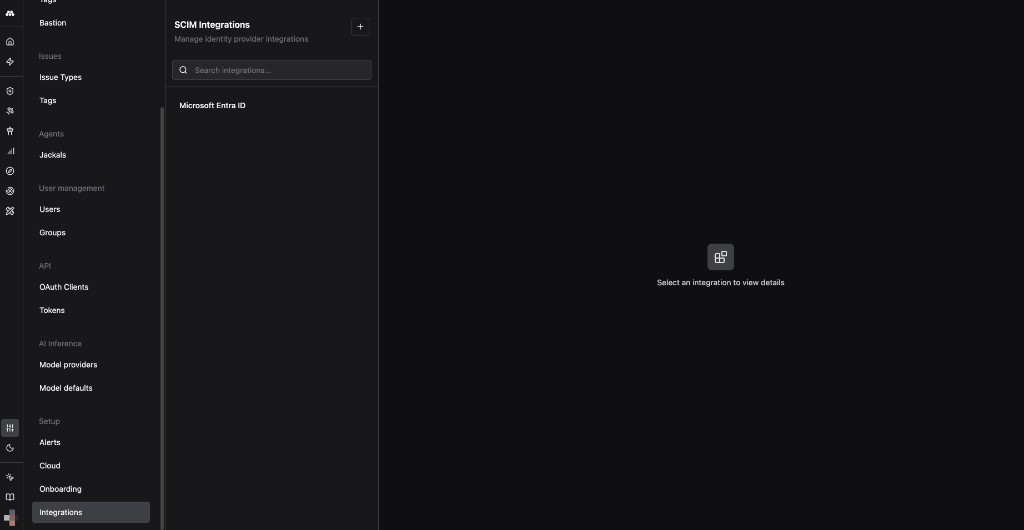
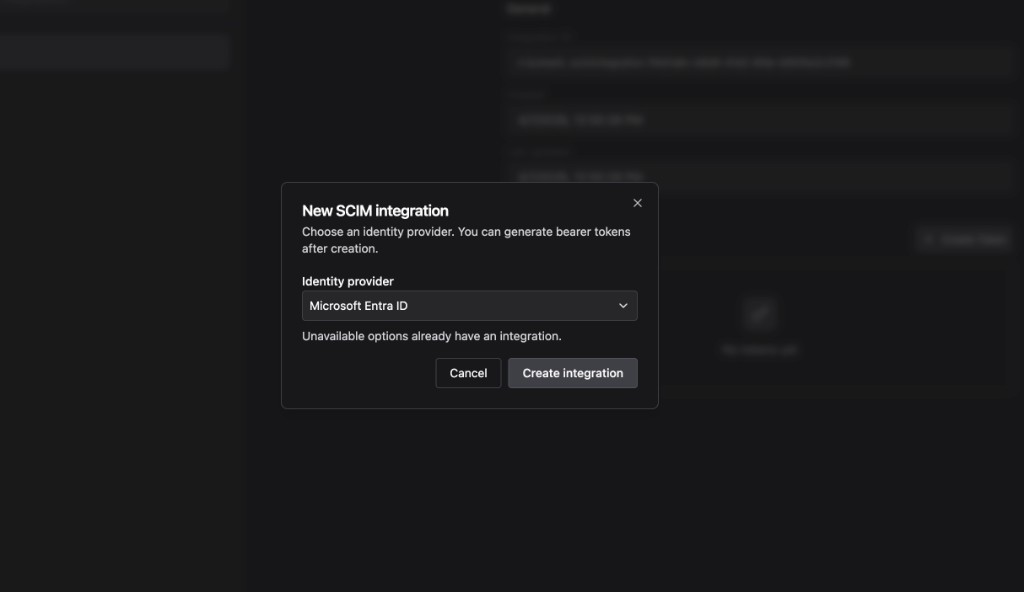
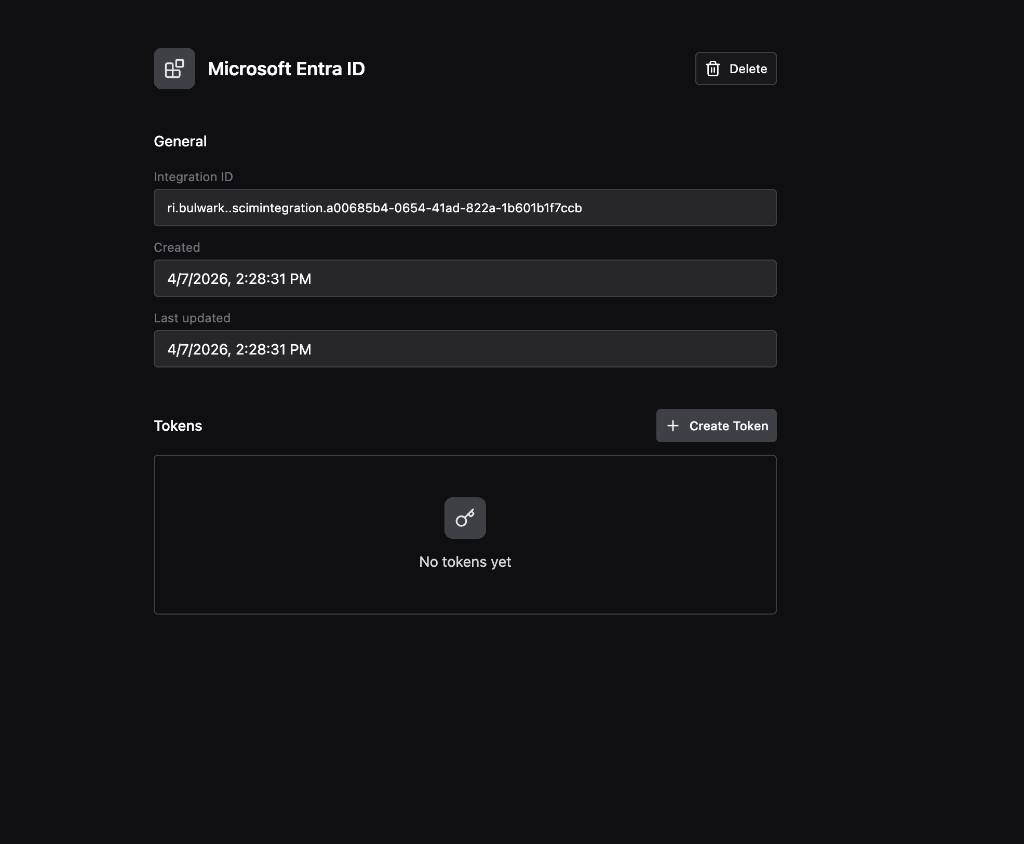
Configure SCIM in Entra
Head back to your application under Enterprise apps in the left hand sidebar. Once inside the application configuration, go to Provisioning and click Connect your application.

On the next screen, perform the following steps:
Attribute mappings
Method Platform supports the following SCIM user attributes:
userNameactivedisplayNametitleemails(work email value and primary flag)preferredLanguagename(givenName, familyName, formatted, middleName, honorificPrefix, honorificSuffix)addresses(formatted, street, locality, region, postalCode, country, primary)phoneNumbers(work, mobile, fax)userTypenickNamelocaletimezone
Attributes not listed above are accepted but ignored.
You are now set up to provision users from Entra ID to Method Platform. Assign users or groups to the enterprise application in Entra to begin provisioning.