Use Okta for SSO
This guide will walk you through the process of creating an app in Okta and integrating it into Method Platform’s auth service for SSO. Under the hood Method Platform uses Keycloak as its auth service.
Setup Okta
Navigate to Okta Admin Console
Log into your Okta organization as an administrator and navigate to the Admin Console.
Create a new App Integration
In the Admin Console, navigate to Applications > Applications in the left sidebar.
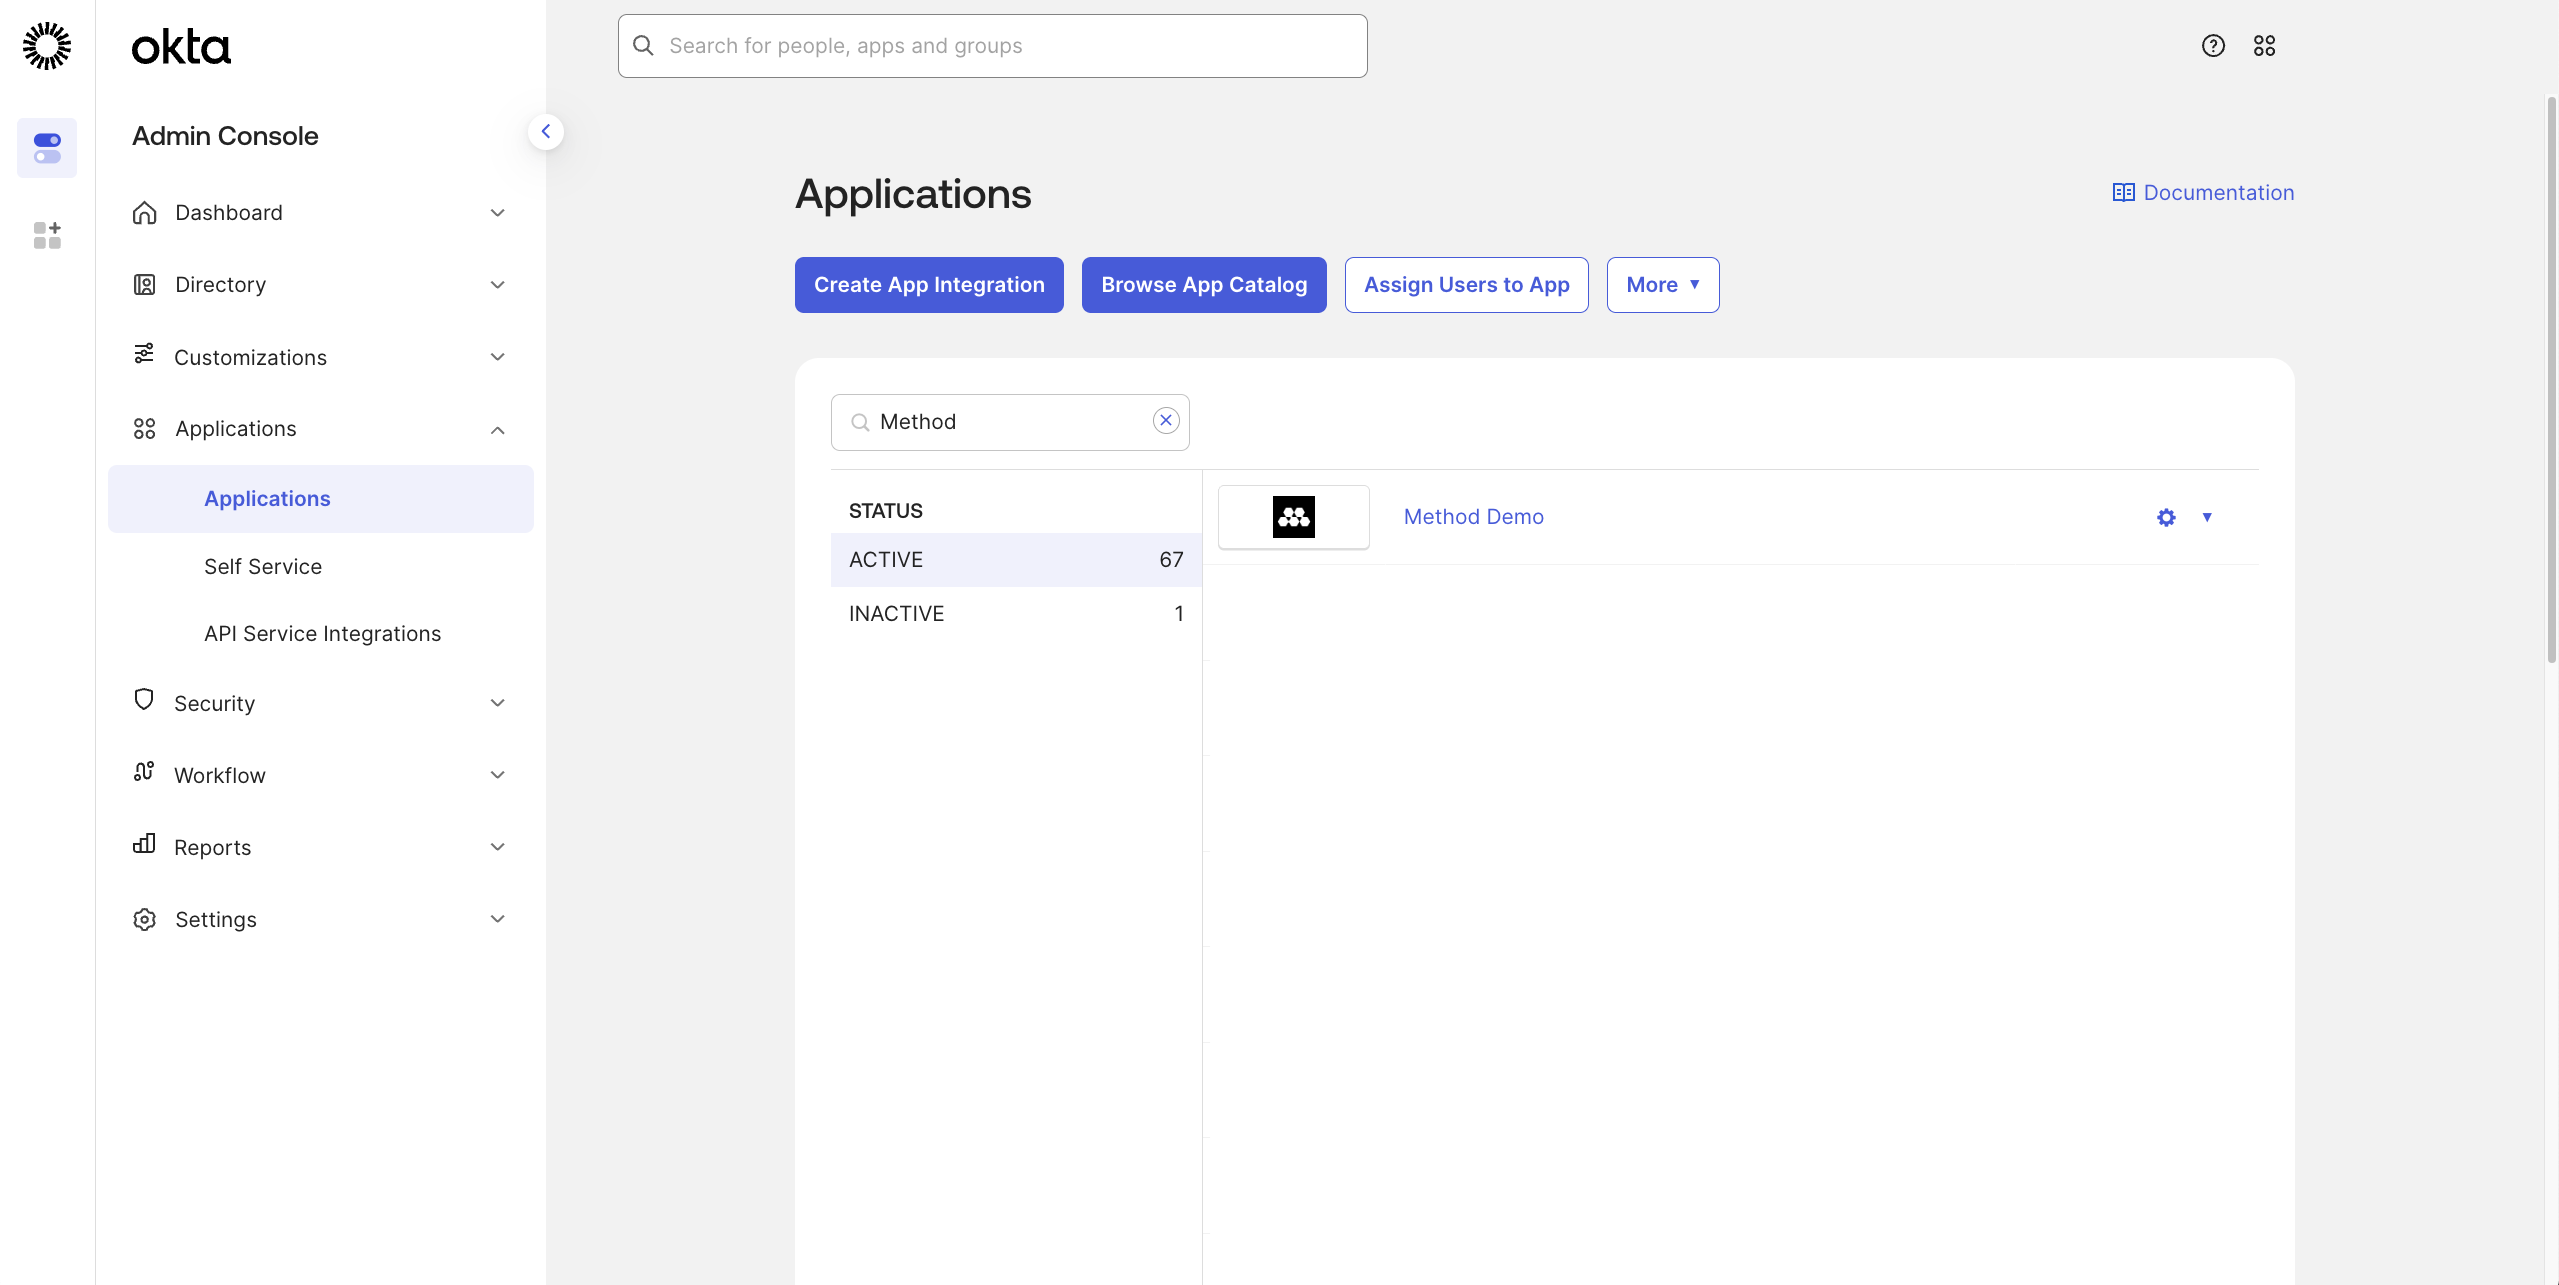
Click Create App Integration.
Configure the App Integration
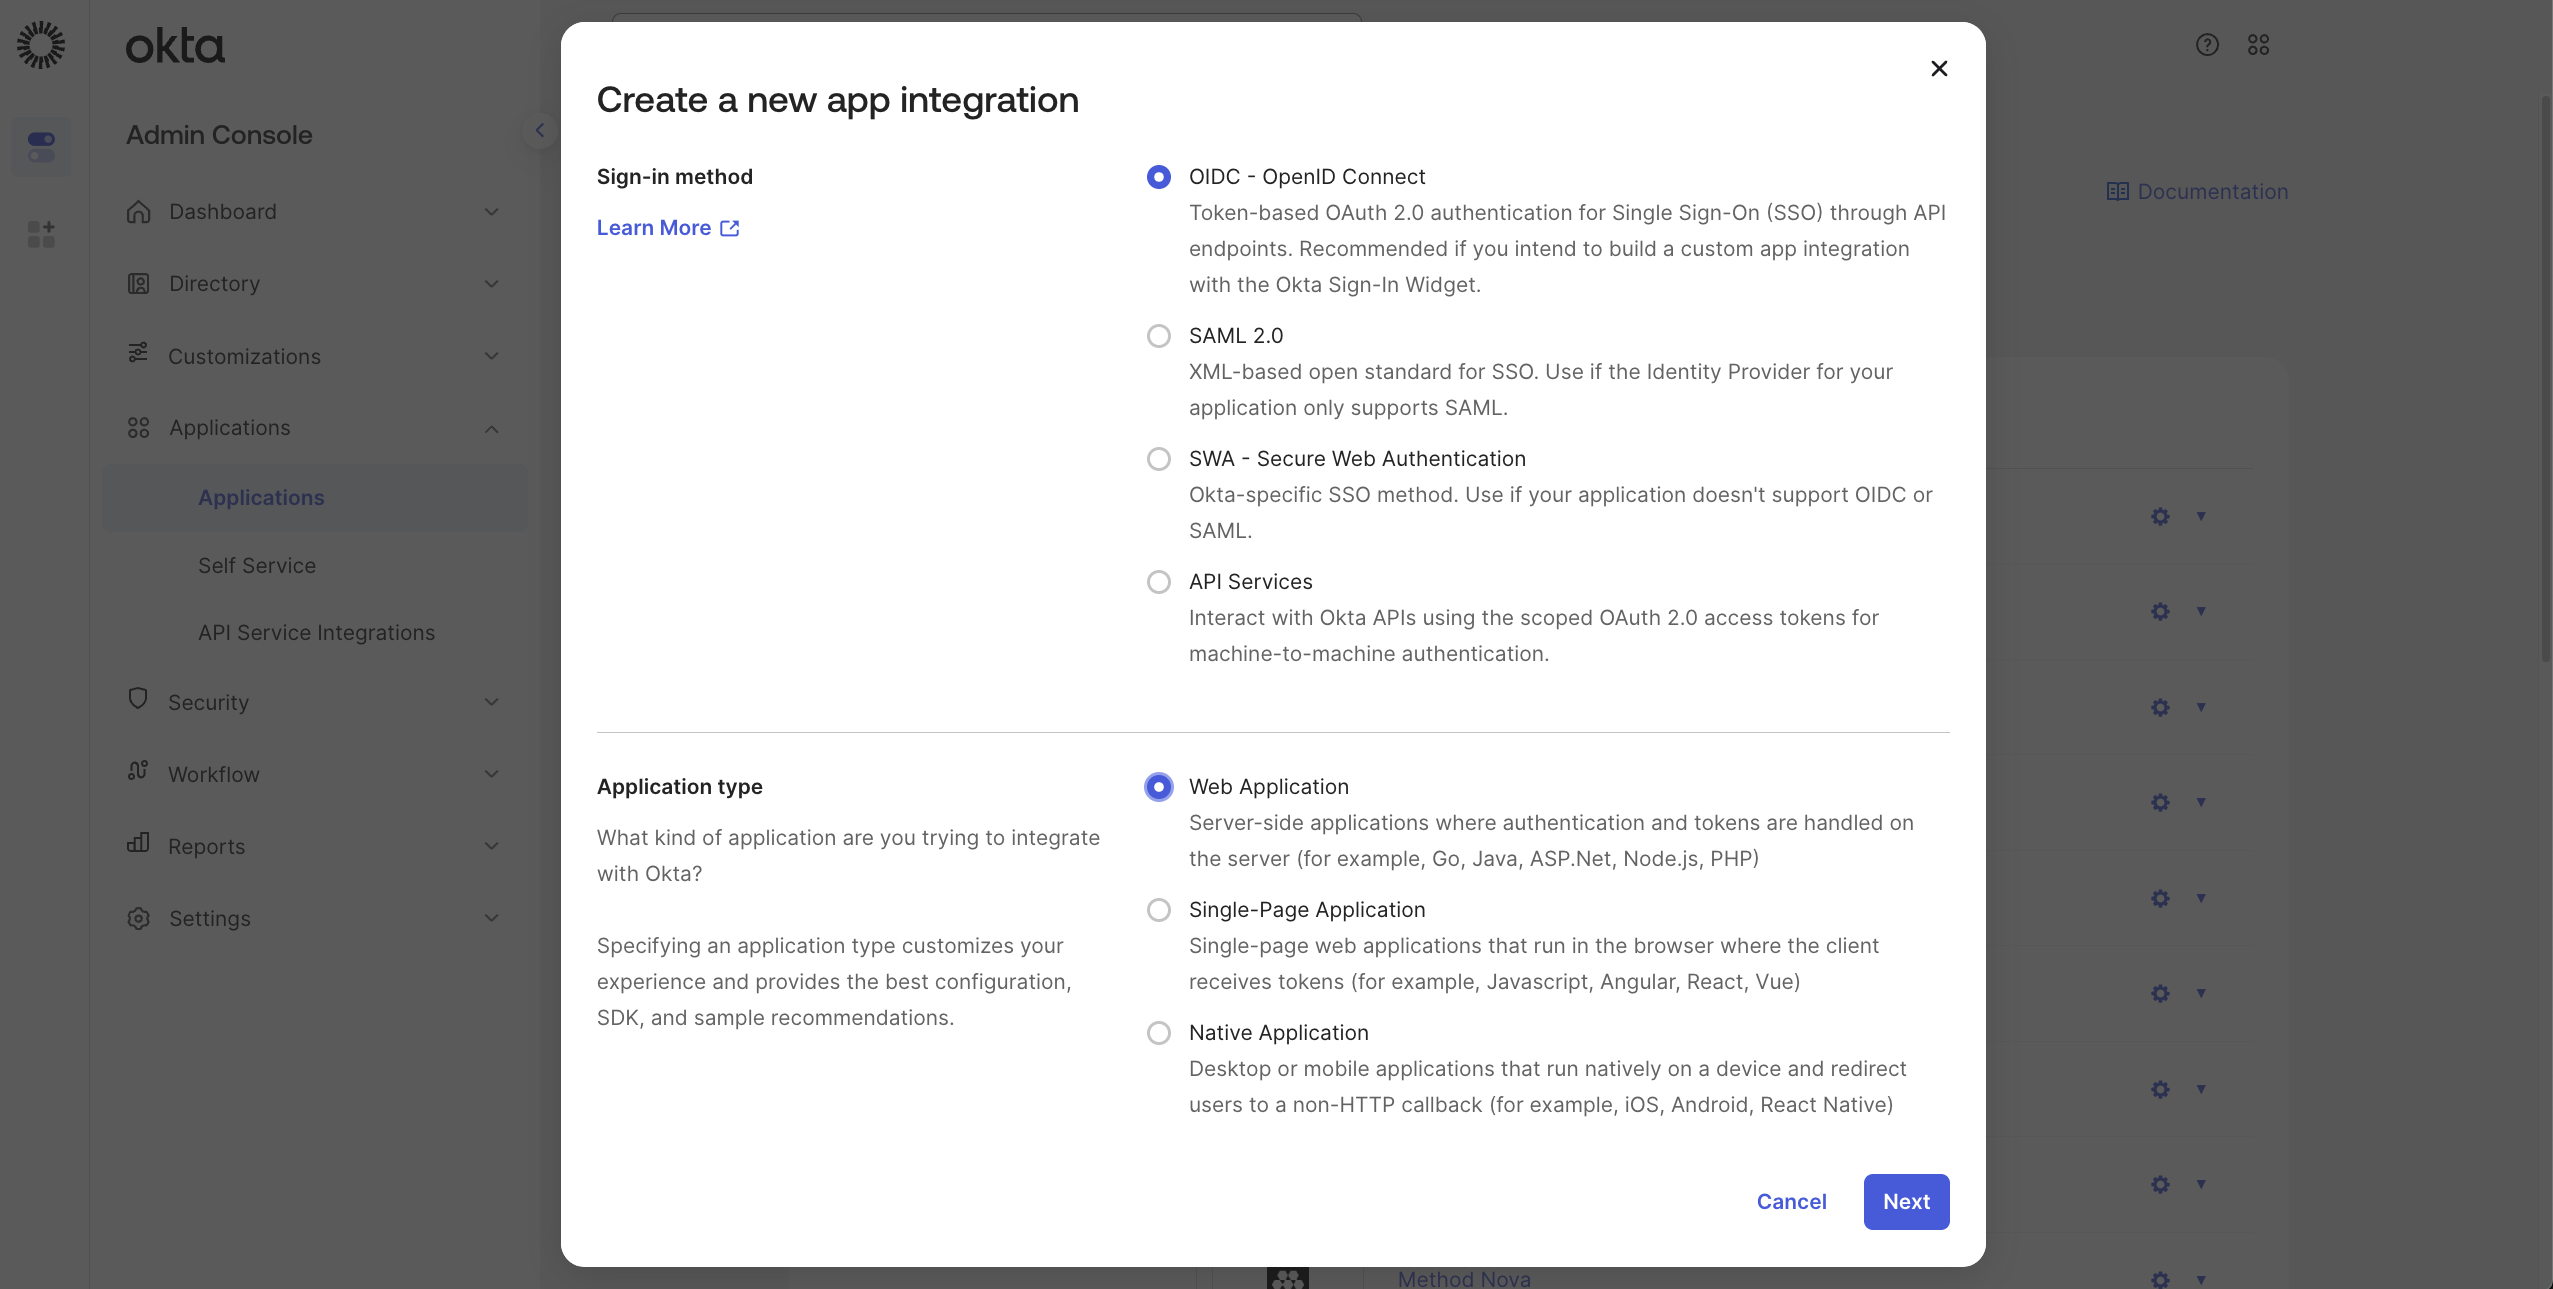
On the Create a new app integration dialog, select OIDC - OpenID Connect as the Sign-in method.
Select Web Application as the Application type.
Click Next.
Configure App Settings
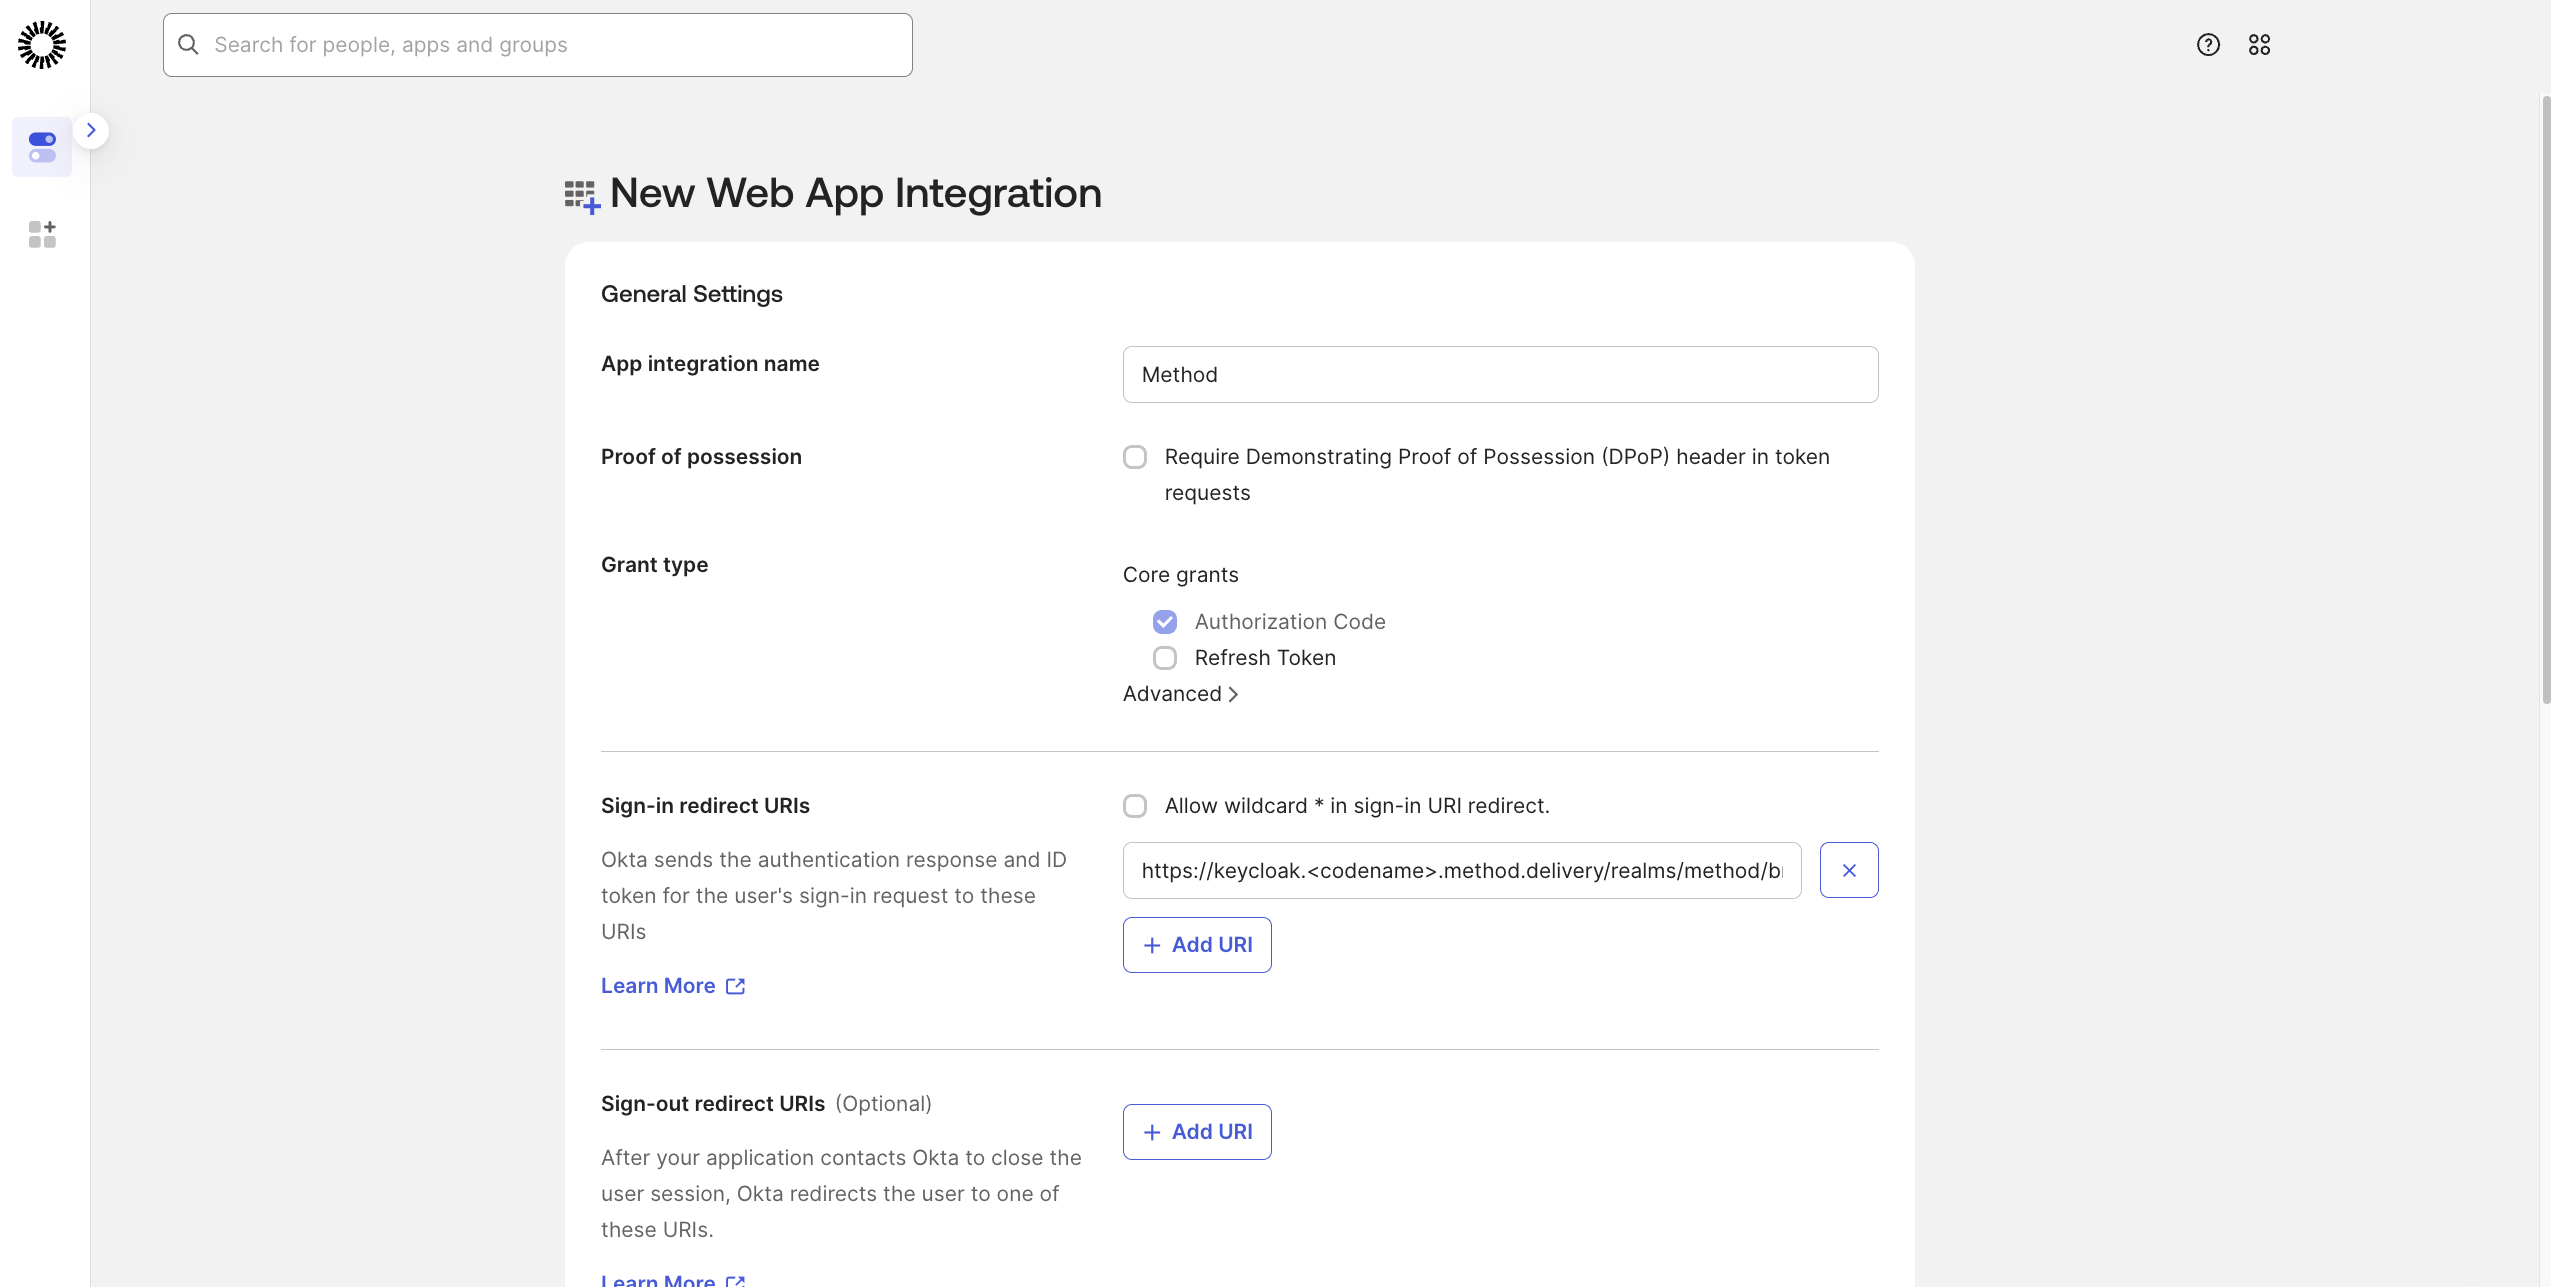
On the New Web App Integration page, enter Method Platform as the App integration name.
In the Sign-in redirect URIs section, enter the Redirect URI which should be: https://keycloak.<codename>.method.delivery/realms/method/broker/okta/endpoint.
Codename
Make sure to replace <codename> in the URI above.
For Assignments, select the appropriate option based on your organization’s needs. You can choose to allow all users or limit to specific groups.
Click Save.
Get Client Credentials
After saving, you’ll be redirected to the app’s general settings page.
Scroll down to the Client Credentials section.
Copy the Client ID - you’ll need this later.
Copy the Client secret by clicking the copy icon - you’ll need this later.
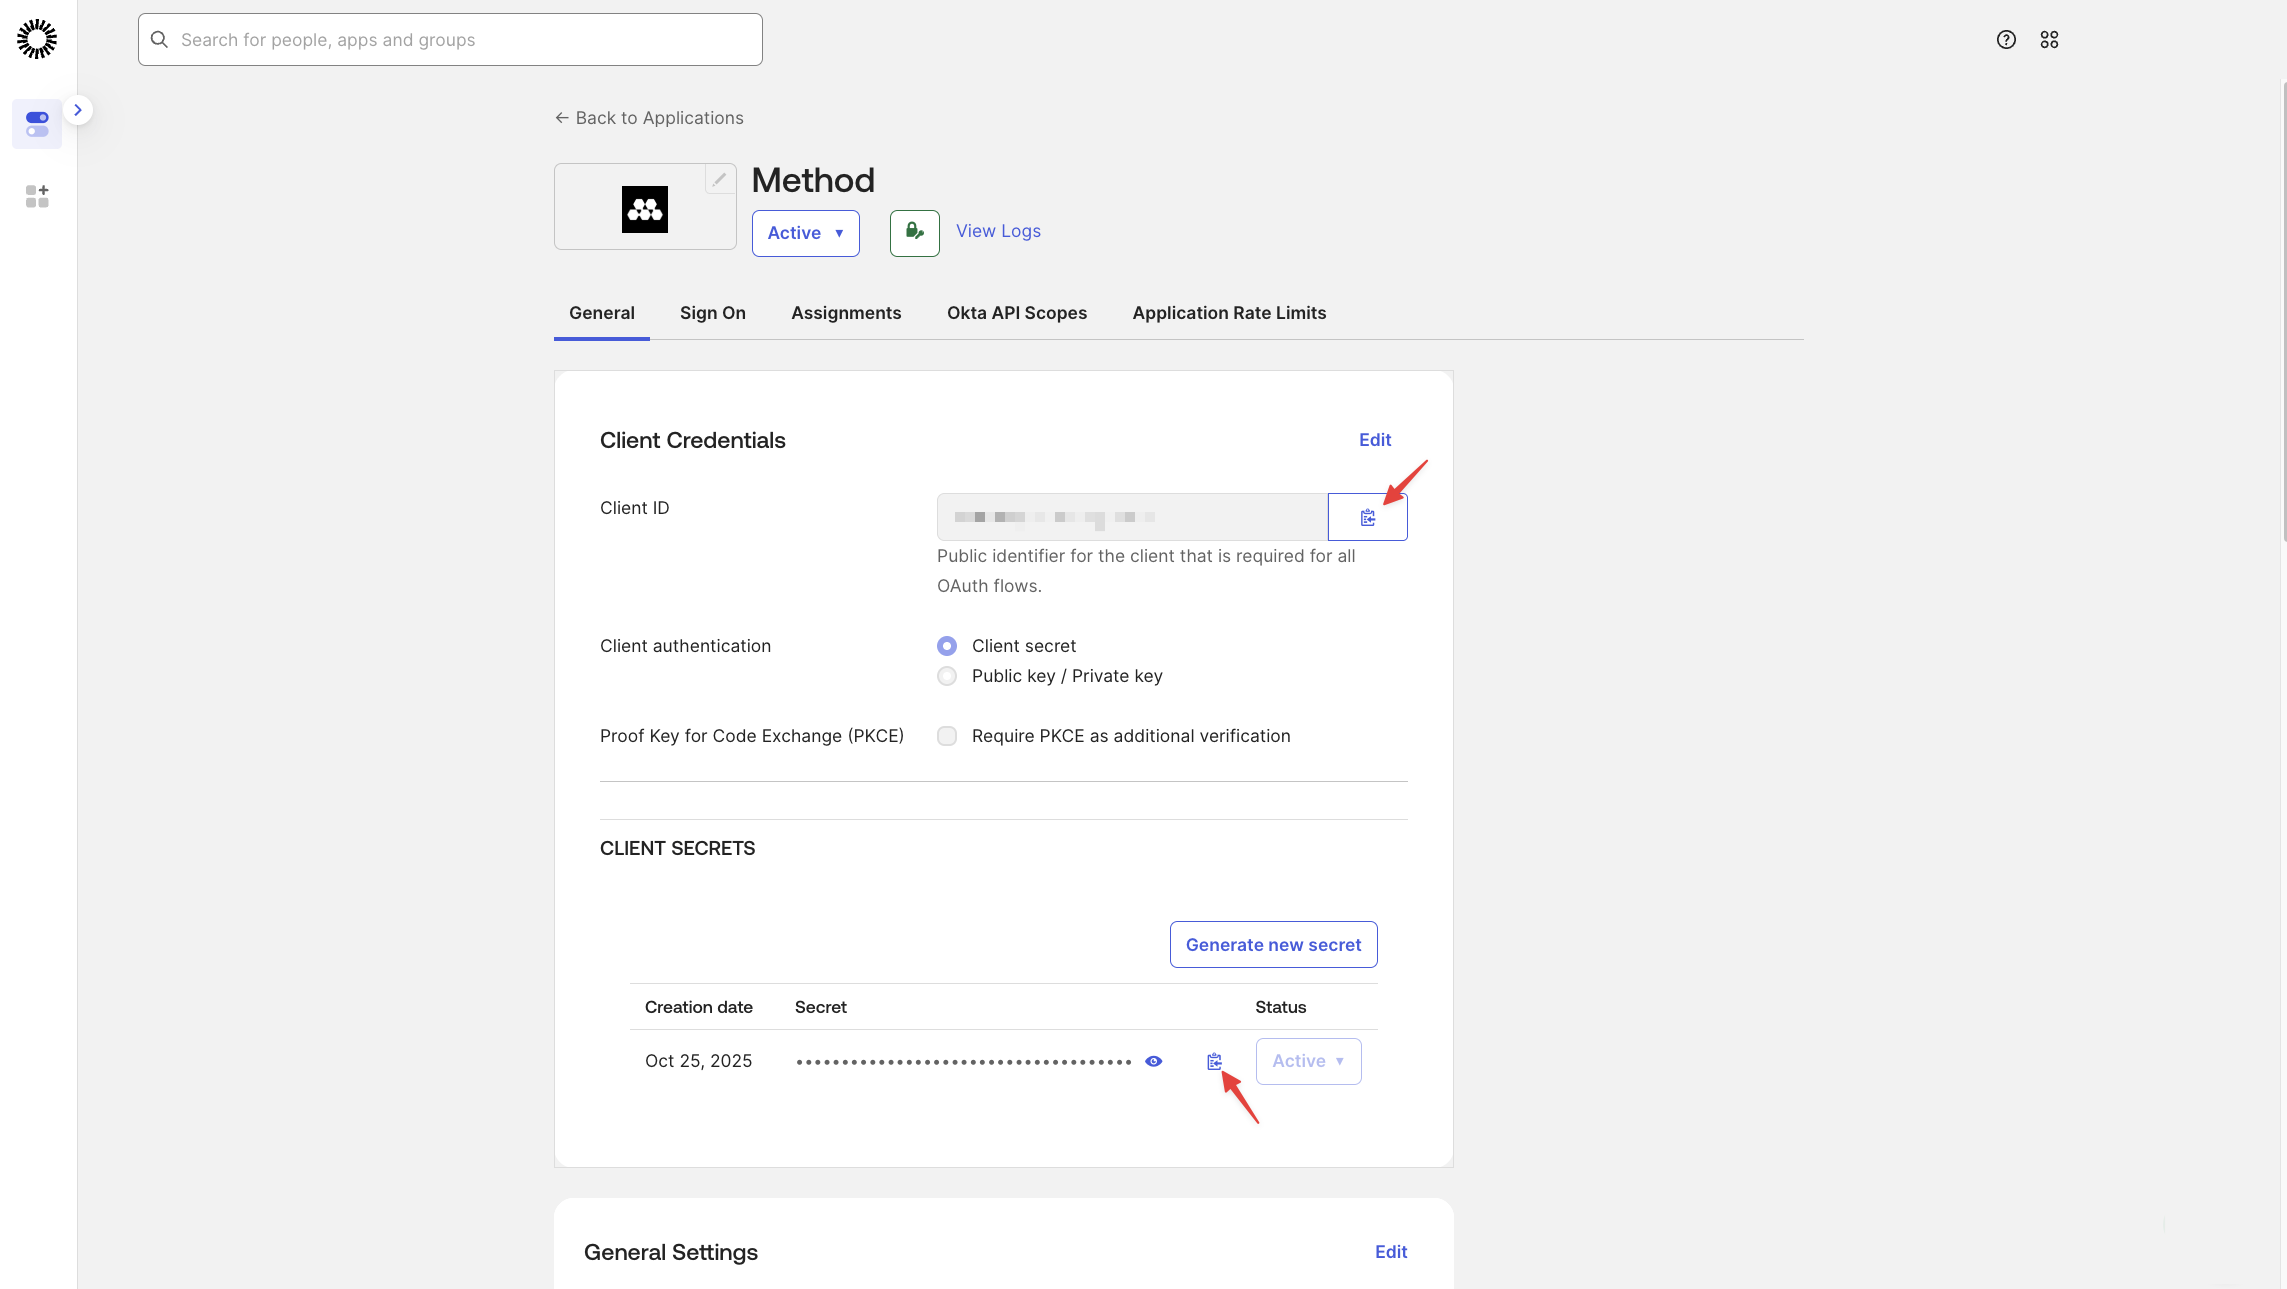
Client Secret Security
The client secret should be treated as sensitive information. If you need to retrieve it later, you can regenerate a new secret from this page.
Share Information with your Method Mission Ops team
There will be three pieces of information you need to share with your Method Mission Ops team:
- The Client Secret copied in the previous step
- Your Okta domain (Issuer URI)
- Client ID
Get Okta Domain (Issuer URI)
Your Okta domain is typically in the format: https://<your-org>.okta.com or https://<your-org>.oktapreview.com for preview environments.
You can find this in the top-right corner of the Admin Console, or in the app settings under Okta domain.
The full Issuer URI that you’ll share is: https://<your-org>.okta.com
Send three pieces of information to Method Mission Ops team
Ensure that this information is sent securely:
- Client Secret
- Okta domain (Issuer URI)
- Client ID
Test login
Once you are notified by your Method Mission Ops team, you should see a new Okta option when logging into Method Platform.
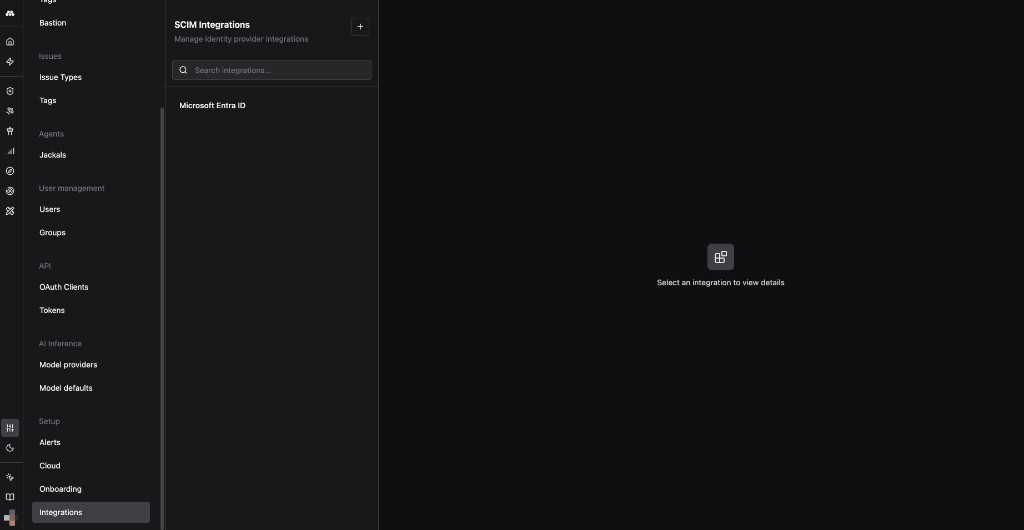
Set up SCIM provisioning
SCIM provisioning automates user and group management between Okta and the Method Platform. Before configuring Okta, you need to generate an integration token from Method.
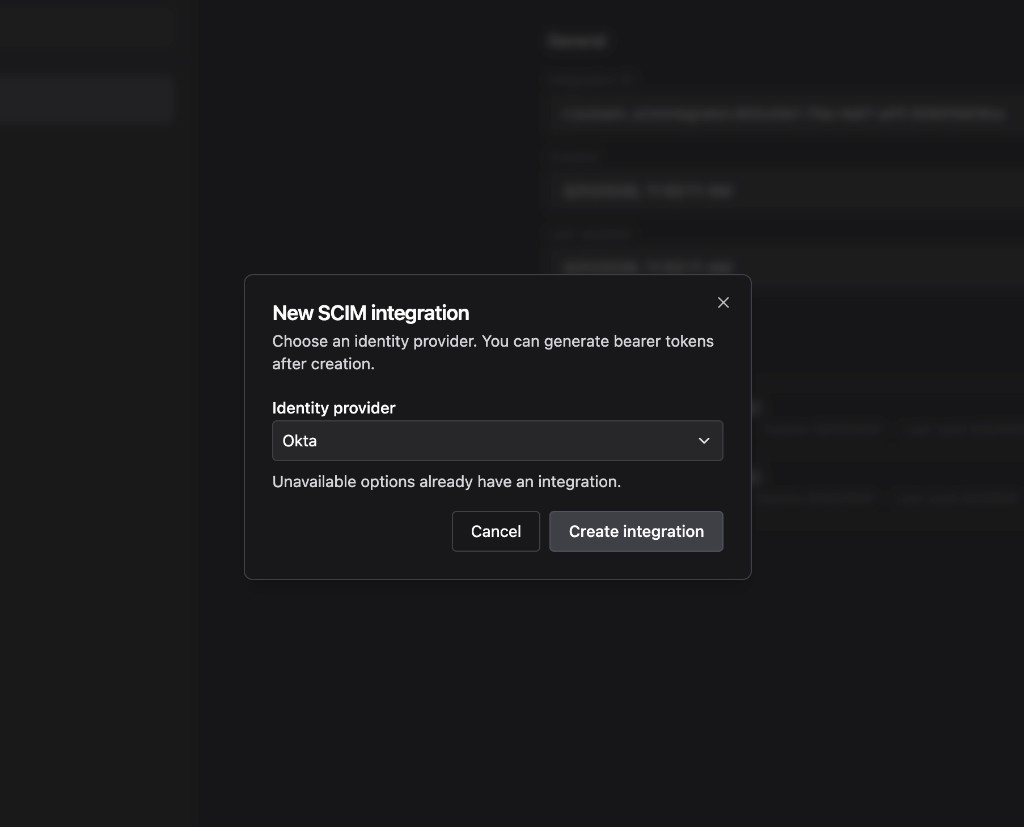
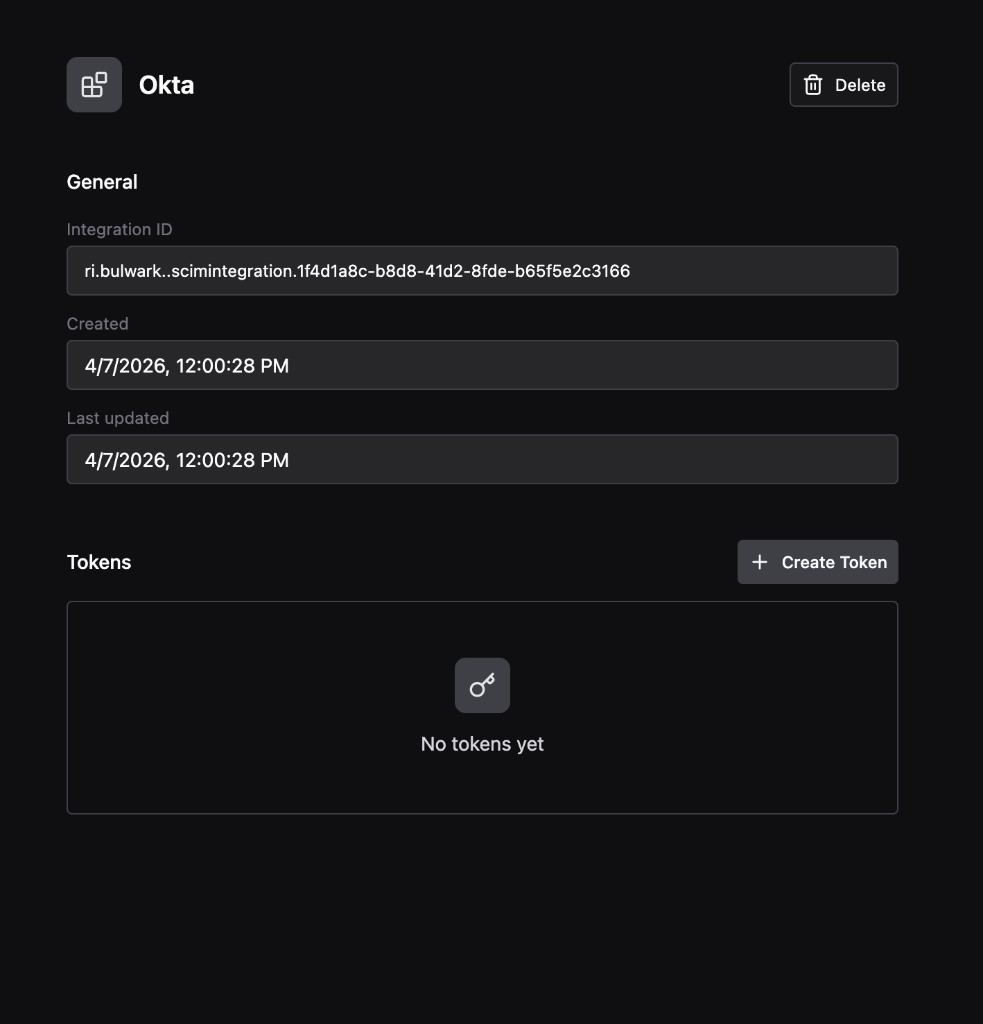
Get the integration token from Method Platform
Configure SCIM in Okta
Add the SCIM app
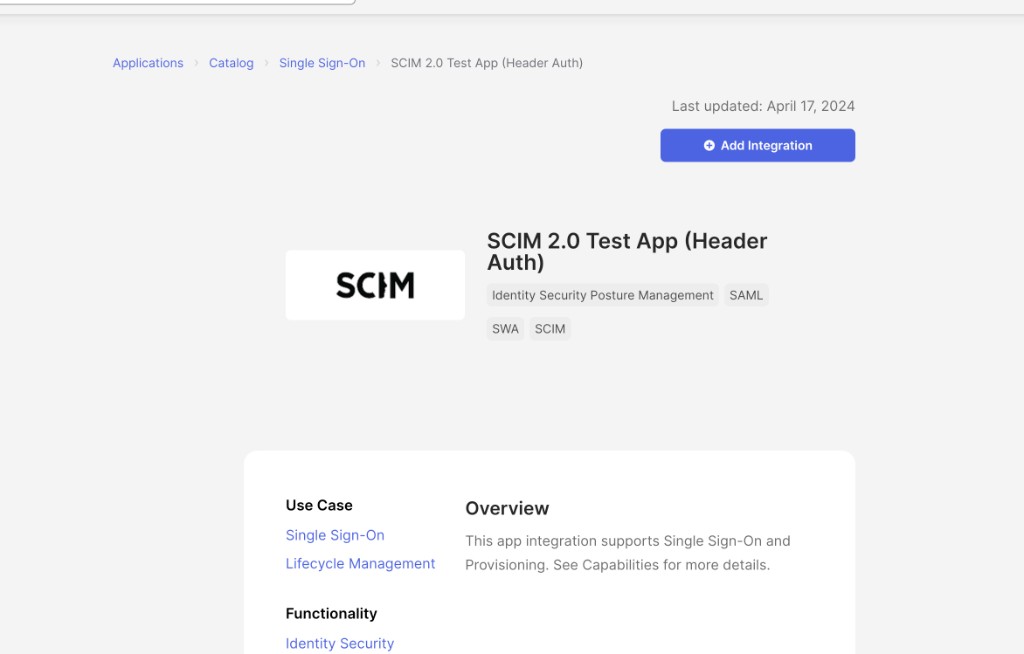
In the Okta Admin Console, navigate to Applications > Browse Catalog. Search for SCIM 2.0 Test App (Header Auth) and click Add Integration.
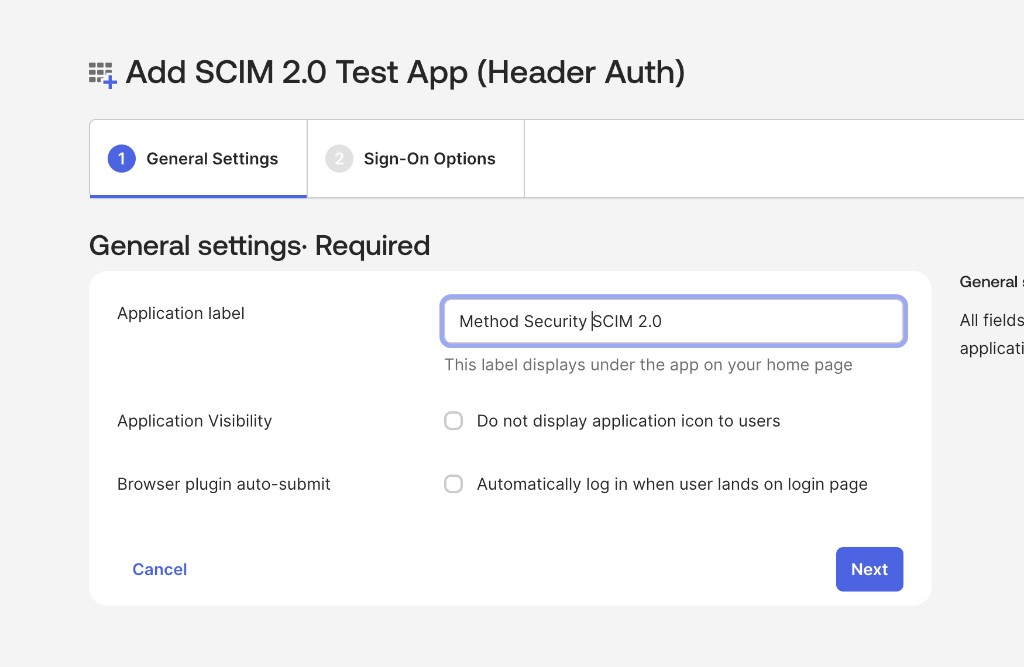
Configure general settings
Set the Application label to Method Security SCIM 2.0. Leave Application Visibility and Browser plugin auto-submit unchecked. Click Next.
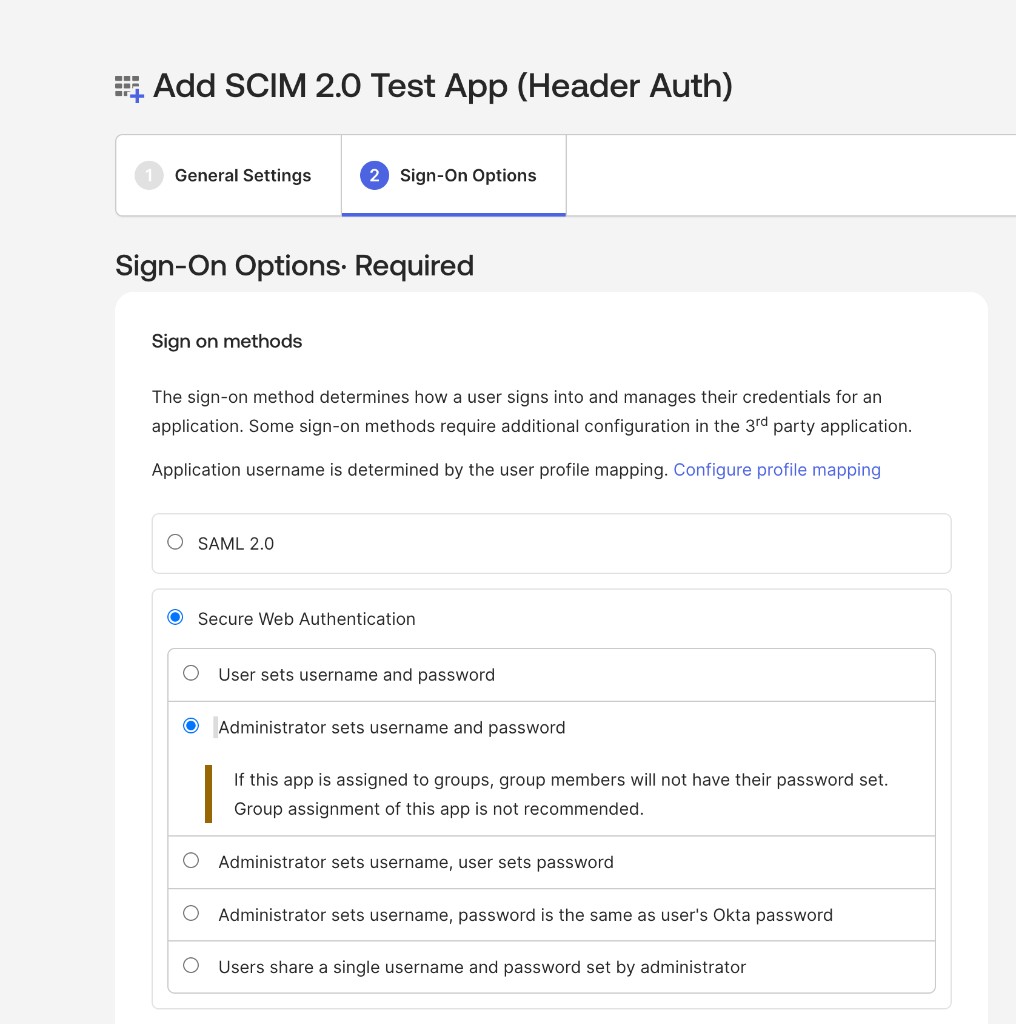
Configure sign-on options
Select Secure Web Authentication, then select Administrator sets username and password. This is a placeholder setting and will not be used for sign-in. Authentication is handled through OIDC SSO configured earlier in this guide.
Click Done.
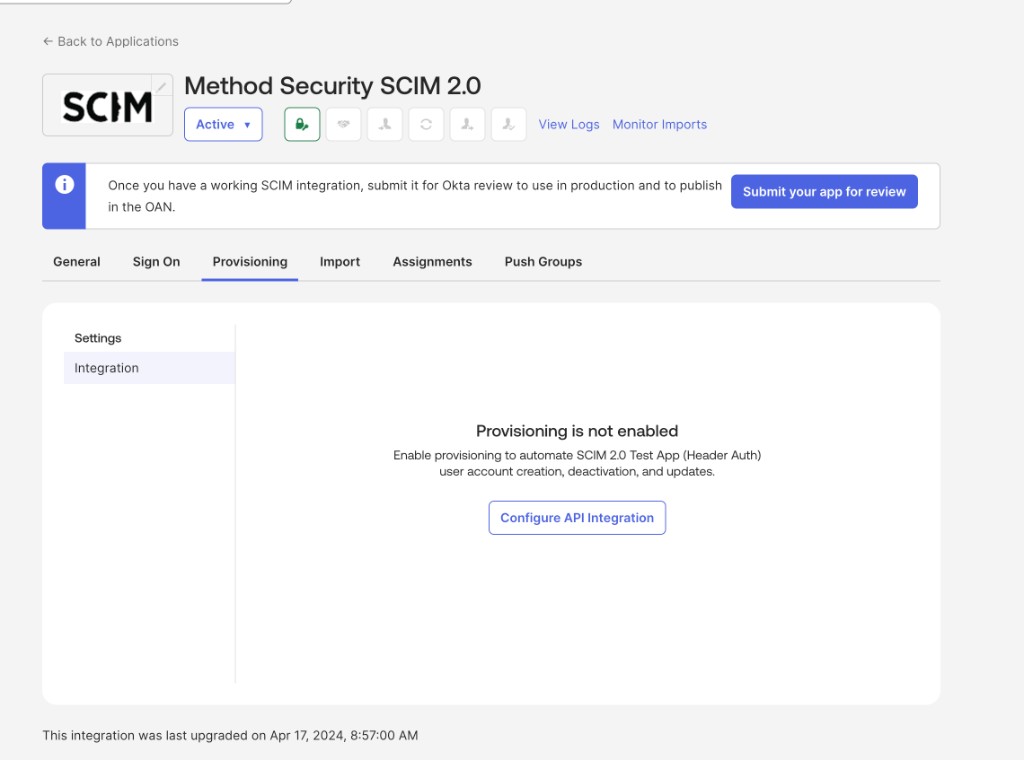
Enable provisioning
Navigate to the Method Security SCIM 2.0 app and select the Provisioning tab. Click Configure API Integration.
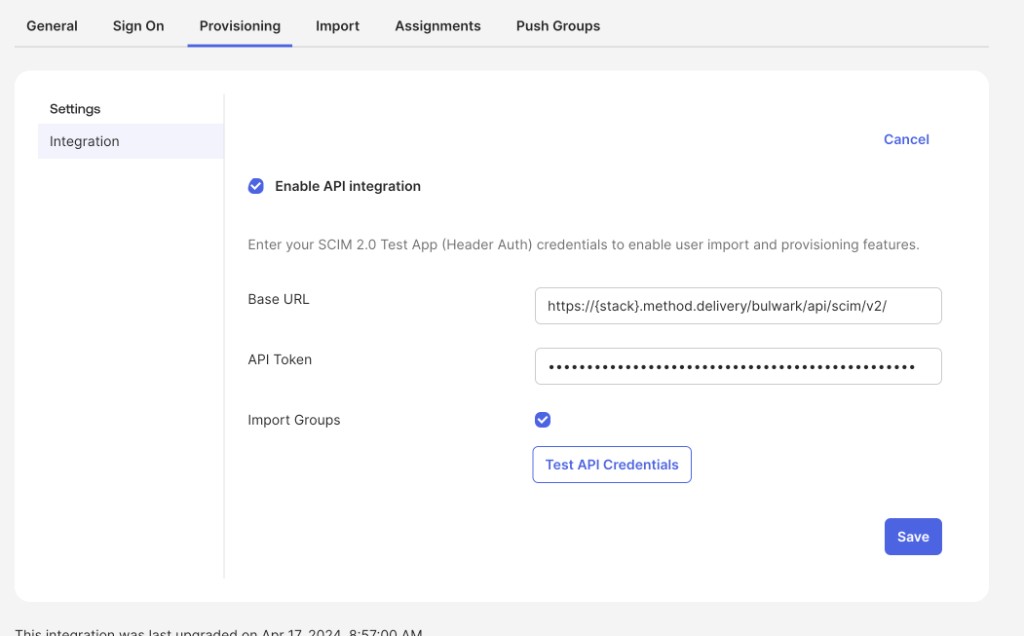
Configure API integration
Check Enable API integration and fill in the following fields:
- Base URL:
https://<stack>.method.delivery/bulwark/api/scim/v2/ - API Token: Paste the bearer token you copied from Method Platform
Stack name
Replace <stack> with your stack name in the Base URL.
Check Import Groups, then click Test API Credentials to verify the connection. Once the test passes, click Save.
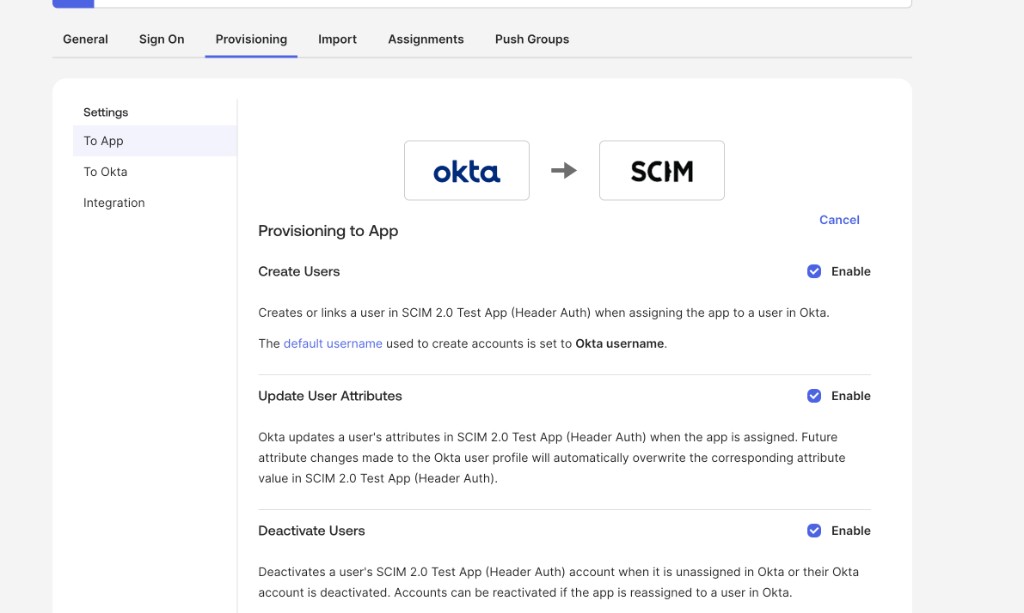
Enable provisioning to app
Under the Provisioning tab, select To App in the left sidebar. Enable the following three options:
- Create Users: Provisions users in Method Platform when assigned to the app in Okta
- Update User Attributes: Syncs attribute changes from Okta to Method Platform
- Deactivate Users: Deactivates users in Method Platform when unassigned or deactivated in Okta
Attribute mappings
Under the Provisioning tab, select To App and scroll down to the attribute mappings. Method Platform supports the following SCIM user attributes:
userNameactivedisplayNametitleemails(work email value and primary flag)preferredLanguagename(givenName, familyName, formatted, middleName, honorificPrefix, honorificSuffix)addresses(formatted, street, locality, region, postalCode, country, primary)phoneNumbers(work, mobile, fax)userTypenickNamelocaletimezone
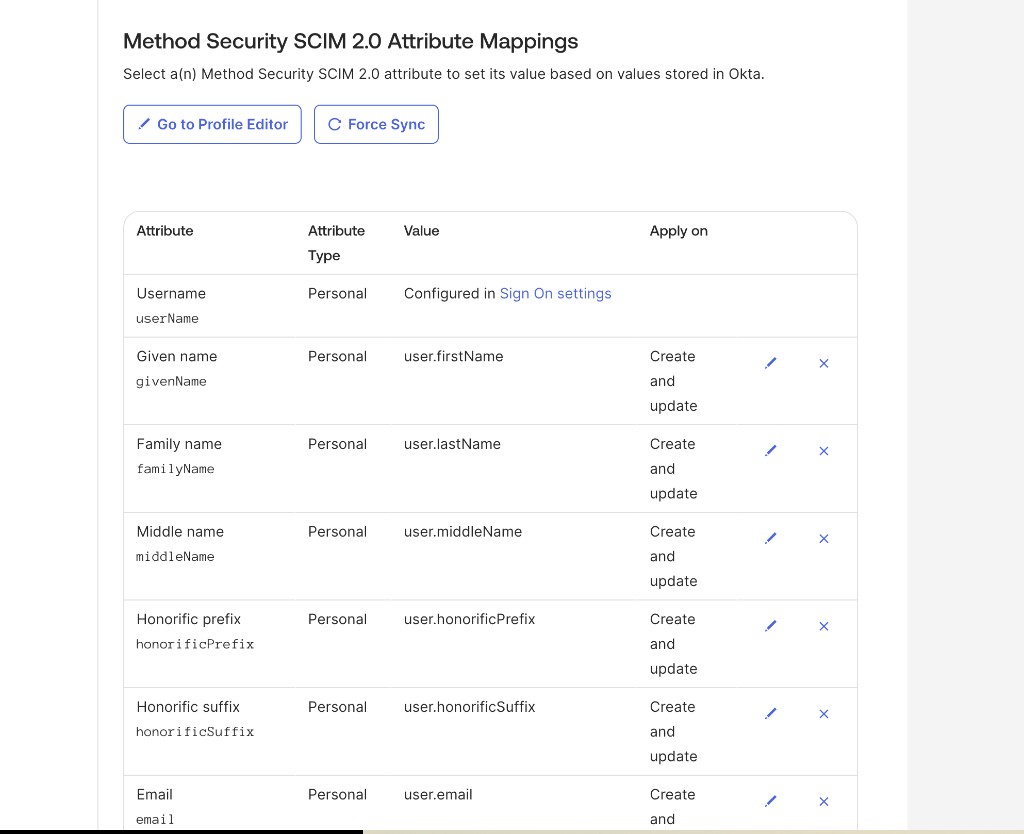
Attributes not listed above are accepted but ignored.
Push Groups
If you plan to sync Okta groups into Method Platform, navigate to the Push Groups tab to configure group provisioning. The following group attributes are consumed:
You are now set up to push users and groups from Okta to Method Platform. Assign users or groups to the Method Security SCIM 2.0 app in the Assignments tab to begin provisioning.